

Embassy Chocolate's Easter Special: Bonbon Recipe Collections
This Easter, we are redefining the seasonal palate by pairing the velvety, well-balanced sweetness of Embassy Zen 33% White Chocolate with a trio of...
4 min read
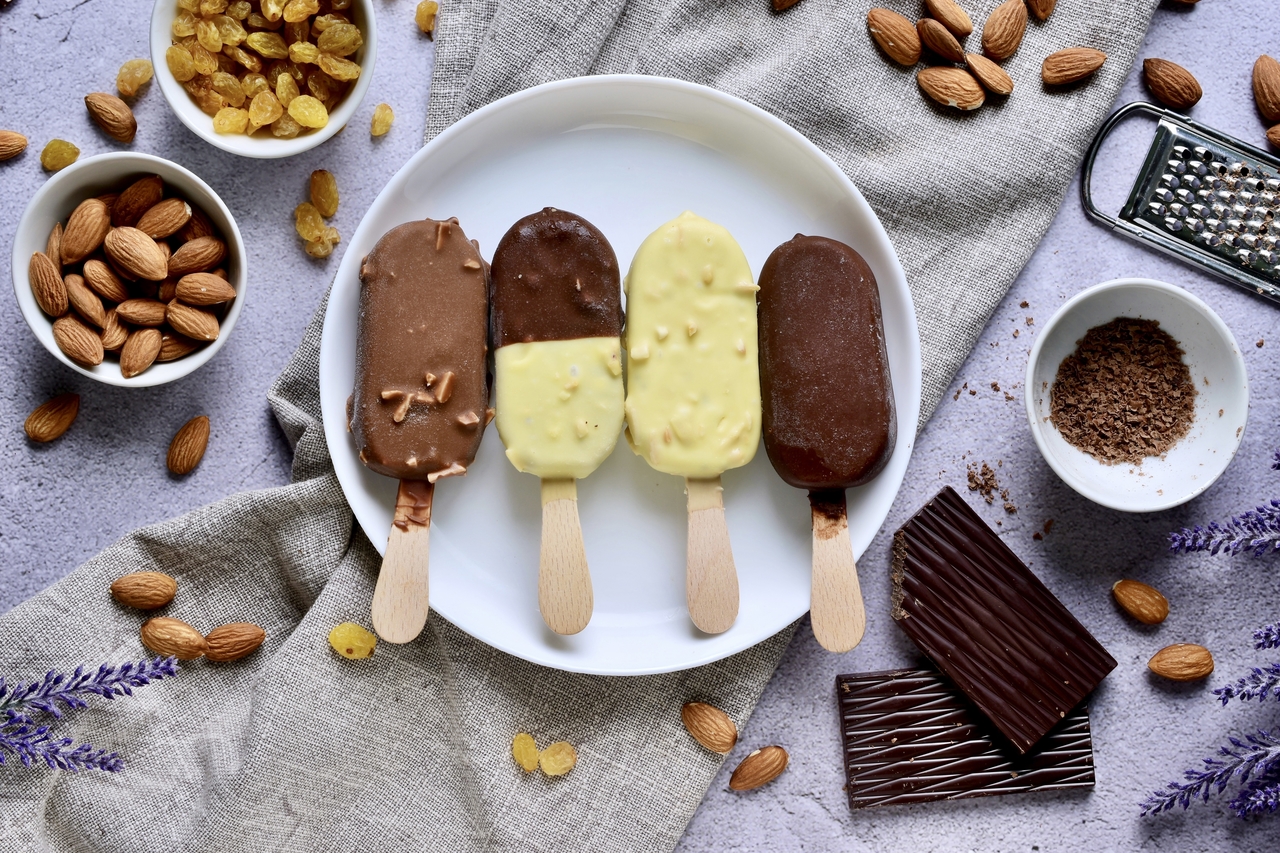
Dipping chocolate is incredibly simple yet really fun to serve with your menu. Added to ice creams, cookies, fruits, or pastry sticks, dipping chocolate can give an added dimension of color and flavor to your creation. Confections such as chocolate candies and energy bars also benefit from the added value dipping chocolate gives.
Although dipping chocolate only requires a very simple recipe, there are several things you need to pay attention to.
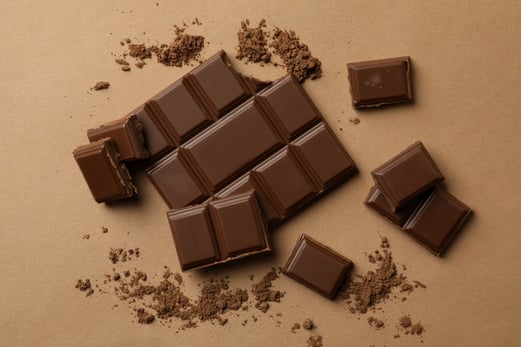
To make chocolate dipping, cooking chocolate is the sole ingredient you need. Therefore, it is really important for you to pay attention to what type of chocolate you are using. Chocolatiers and pastry chefs would always recommend using couverture chocolate to make dipping.
Couverture chocolate is a type of chocolate that contains more cocoa butter than regular chocolate. Cocoa butter is the ingredient that contributes to the fluidity and mouthfeel of chocolate. A higher percentage of cocoa butter will give higher fluidity to your chocolate. It will also have a more buttery mouthfeel.
For classic chocolate dipping, use our Embassy Oceanic Blend Dark Chocolate Couverture 65%, which contains 43% cocoa butter. For those who want a creamy, milky flavor, we recommend our Embassy Azalea Milk Chocolate Couverture 34%.
If you already have the chocolate for your dipping needs, the next thing you need to do is temper your chocolate.
Unfortunately, many people still think that you can just melt the chocolate instead of tempering it when in reality, tempering does so much more than just bring your chocolate from solid to liquid state.
In the process of tempering, we essentially rearrange and stabilize the structure of the cocoa butter crystals in the chocolate. This is done to make sure that the chocolate has the most desirable crystal structure, which is the beta crystal.
That is why we need to go through several steps in the tempering process: first, we need to melt the chocolate, then cool it down, then re-heat the chocolate again to its working temperature.
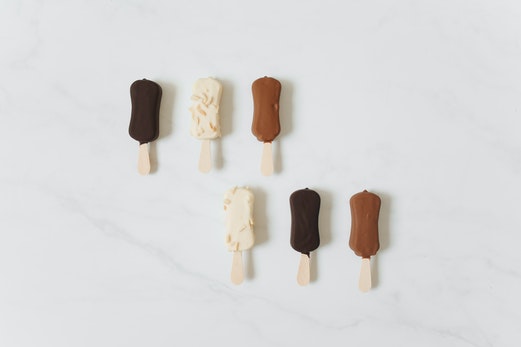
Doing the tempering process properly will make your chocolate dipping look shiny and glossy in appearance, even after dipping it into fruits or any other foodstuff you like. It will also have a smooth, creamy mouthfeel and snaps cleanly when hardened and broken. Not only that, but your chocolate dipping will also be more stable in warmer temperatures, and won’t melt in your hands yet melts in the mouth.
To temper your chocolate, there are 3 methods you can use based on the availability of equipment in your kitchen and the level of difficulty you’re comfortable with. This includes seeding, ice bath, and tabling method.
In the seeding method, first, melt two-thirds of your chocolate until 50-55°C for dark chocolate or 45-50°C for milk and white chocolate.
Then, take the chocolate off the heat and add the rest of your chocolate, stirring constantly until all of the chocolate is melted and it reaches 28-29°C for dark chocolate. For milk chocolate, go for 27-28°C, and for white chocolate, stir until it reaches 26-27°C.
Afterward, get the chocolate on a bain-marie and turn the heat on, bringing the chocolate to its working temperature, which is 31-32°C for dark chocolate, 30-31°C for milk chocolate, and 29-30°C for white chocolate.
For the ice bath method, first, you need to prepare a bowl of ice and water, making sure that it’s not too full so that water does not get into the bowl. The bowl should be bigger than the bowl for your chocolate. Then, prepare the chocolate by melting it to 50-55°C for dark chocolate or 45-50°C for milk and white chocolate.
Next, put the bowl of chocolate on top of the bowl of ice, stirring it until it reaches the second temperature. Be careful not to cool the chocolate too quickly; set the bowl aside once in a while, then bring it back onto the ice bath.
After it has cooled down, heat the chocolate once more until it reaches its working temperature.
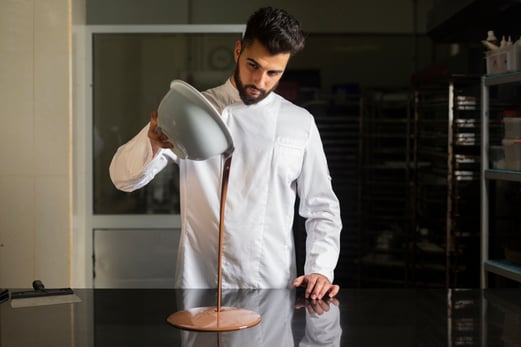
The tabling method is probably the most difficult way to temper your chocolate. You need the skill and experience to get it right, but once you do, this can be the most enjoyable way to temper your chocolate.
To do the tabling method, melt the chocolate until the first temperature. Then, pour two-thirds of it on top of a granite or marble surface. This can be a tabletop or a slab of the material, which is needed in order to cool the chocolate quickly.
Evenly spread the melted chocolate on the table, then agitate it using a scraper and a spatula. Do it repeatedly until the chocolate cools down. After that, bring the chocolate back into the rest of the melted chocolate, and stir until it reaches its working temperature.
To make chocolate smooth for dipping, it all comes down to tempering your chocolate properly.
There are a lot of cases where you might end up either under-tempering or over-tempering your chocolate. One of the most common pitfalls when making chocolate dipping is over-tempering, and your chocolate has gone too cold. This is characterized by the formation of bubbles on the surface when you stir your chocolate dipping.
To prevent this from happening, you need to pay attention to the target temperature in the tempering process. For dark chocolate, the temperature in each step of the tempering process goes like this:
If your chocolate has gone too cold and bubbles form as you stir, do not worry. Take a heat gun and bring the temperature of your chocolate back to its working temperature.
Some sources may suggest that you add shortening or cocoa butter to your chocolate dipping to make it smoother. While they may add smoothness to your compound chocolate or regular chocolate which contains a lower amount of cocoa butter, for couverture chocolate, there is no need to use these additional ingredients.
Couverture chocolate already has the consistency that is perfect for applications like chocolate dipping, coating, molding, and enrobing. So, getting that luscious, smooth chocolate dipping is already in the palm of your hand.
If you need high-quality couverture chocolate for any of your baking, dessert, or chocolate-making applications, then check out our couverture chocolate range on our products page. For more information regarding the pricing, speak to one of our knowledgeable sales reps by visiting our contact page.
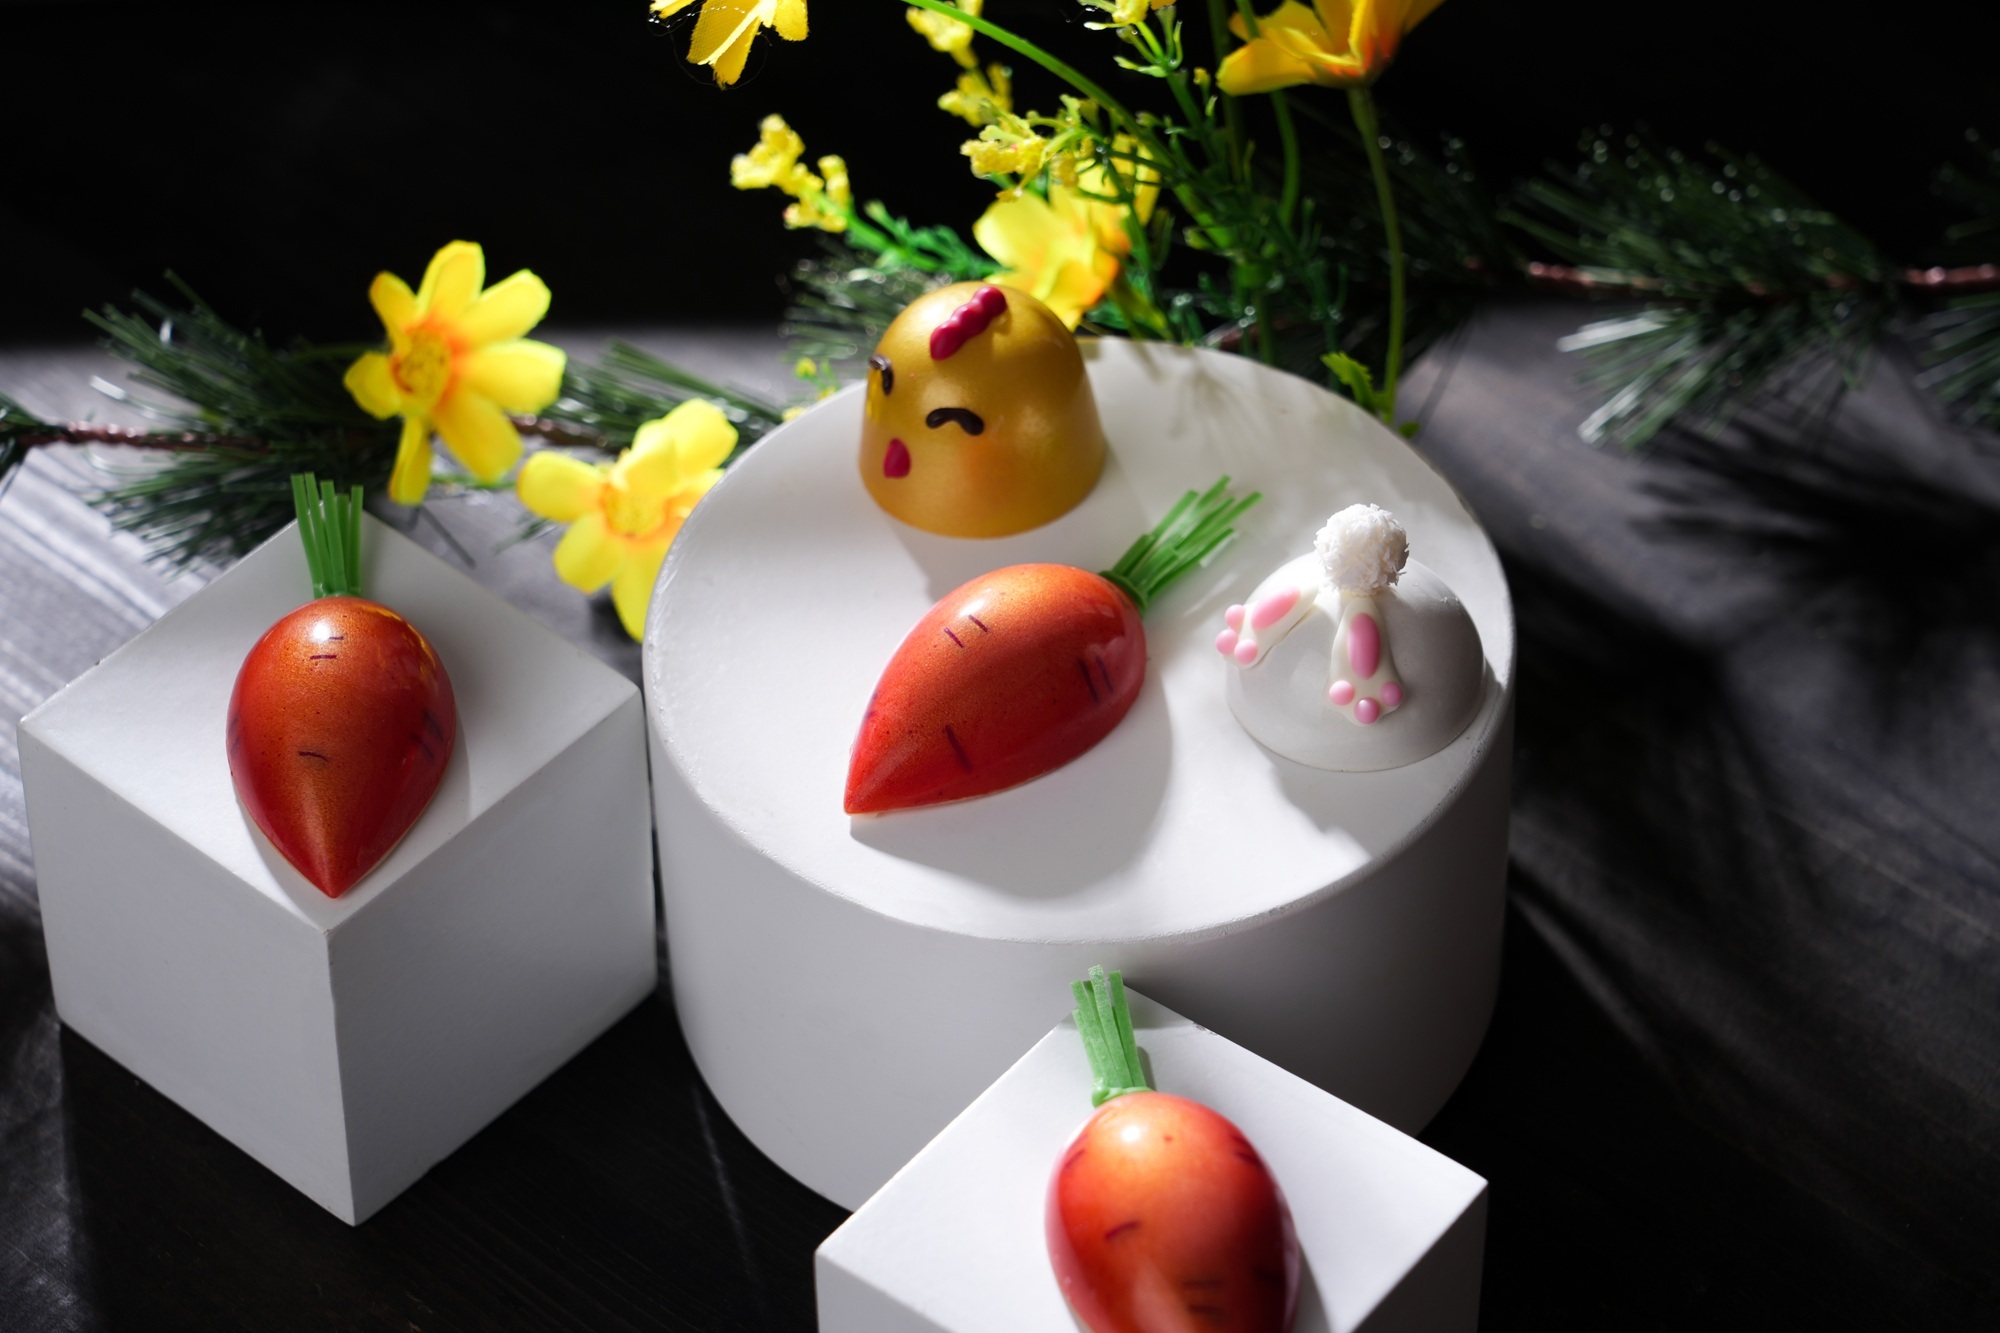
This Easter, we are redefining the seasonal palate by pairing the velvety, well-balanced sweetness of Embassy Zen 33% White Chocolate with a trio of...

Colour is not just an accent, it's a powerful medium that can transform a simple dessert into a captivating work of art.
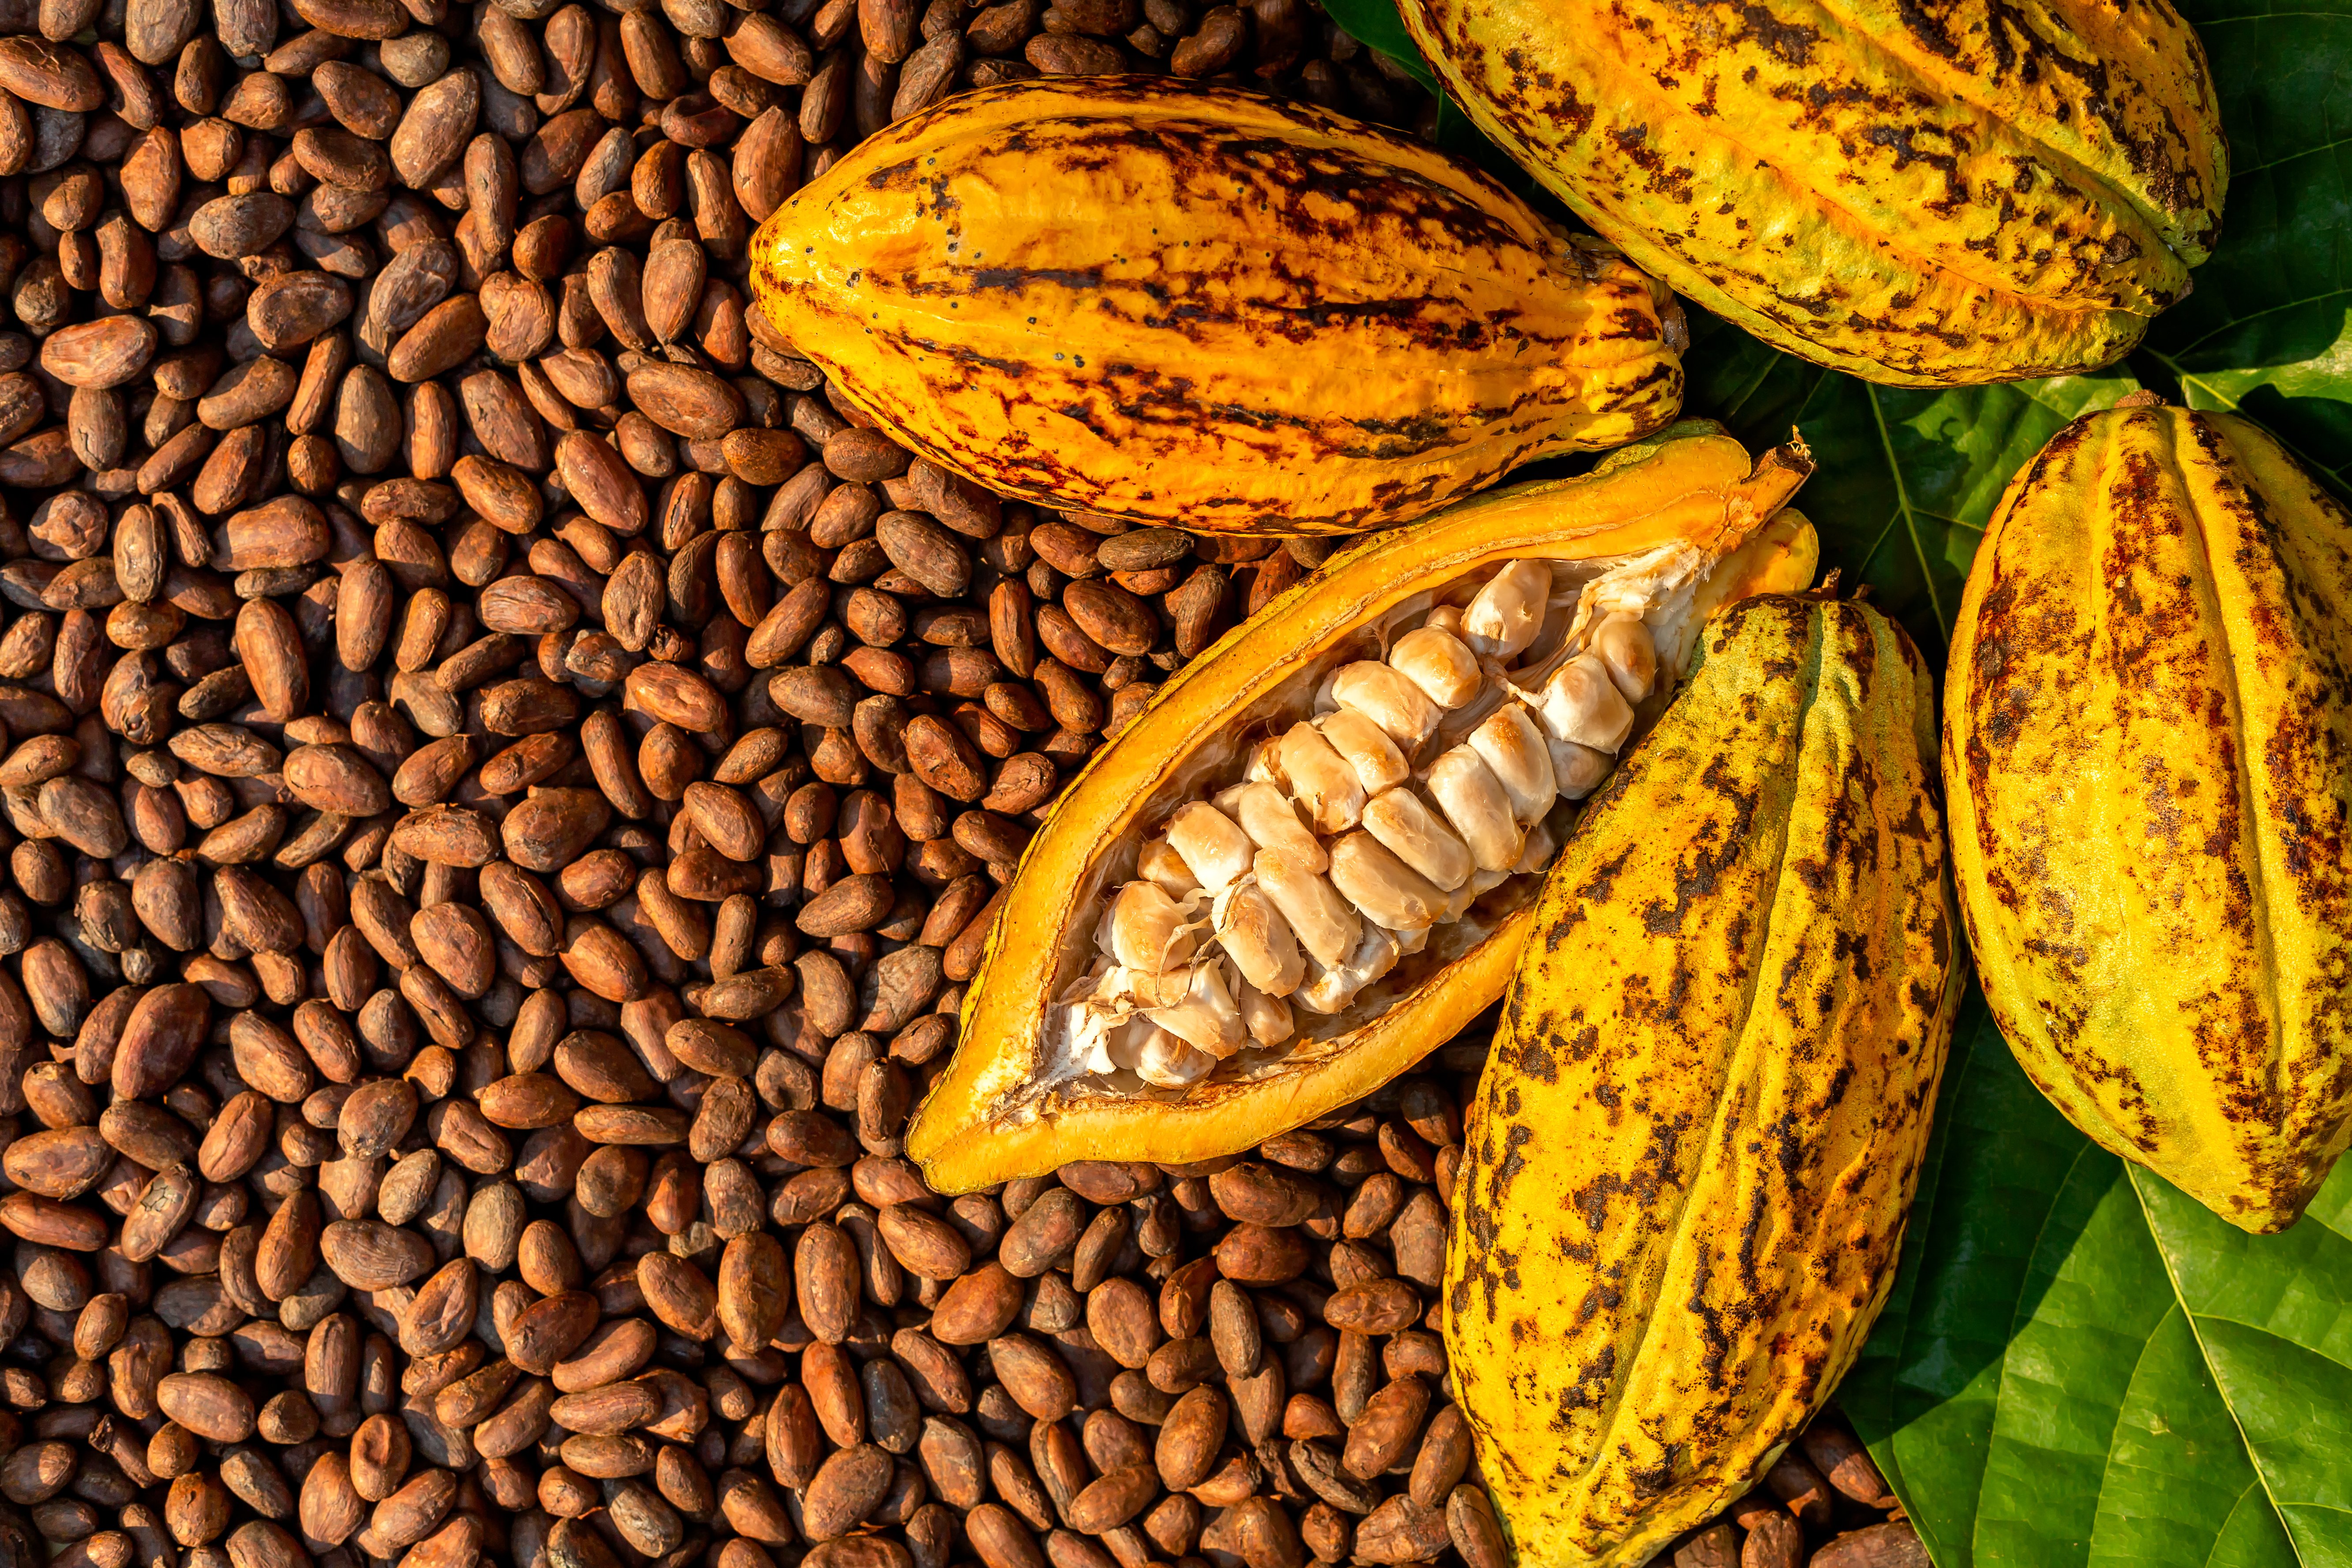
Chocolate, a beloved treat enjoyed by millions worldwide, is facing a bitter truth: the steady rise in cocoa bean prices due to disease outbreaks and...