

Embassy Chocolate's Easter Special: Bonbon Recipe Collections
This Easter, we are redefining the seasonal palate by pairing the velvety, well-balanced sweetness of Embassy Zen 33% White Chocolate with a trio of...
4 min read
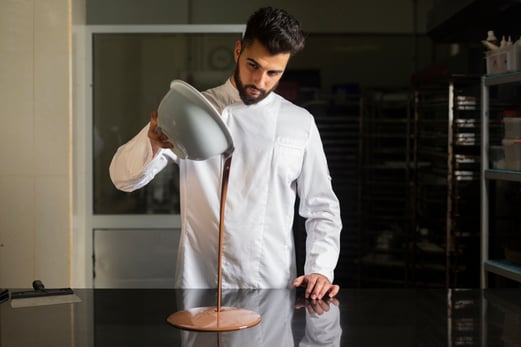
Tempering is an important step in chocolate making. By tempering, you are essentially conditioning your chocolate to be in the best state that it can be. If you want your hollow figures to look good for display, or if you want your chocolate-dipped foods to have the amazing mouthfeel and the melt-in-your-mouth sensation that good quality chocolate is known for, then you need to understand the chocolate tempering process.
In this article, we provide you with the answers to common questions you may have about the chocolate tempering process.
Essentially, the tempering chocolate process is a technique of heating and cooling chocolate over and over. During this process, the cocoa butter in the chocolate takes on a stable crystalline form, which gives the chocolate its defining characteristics.
But why is tempering so essential to make chocolate and chocolate-based products? It's because the process can bring so many benefits to your chocolate. Perfectly tempered chocolate will have these amazing characteristics.
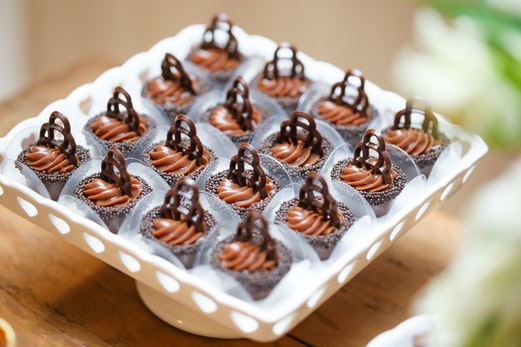
You may be wondering, can you skip this process? Tempering may seem like a daunting task, especially to those who are just beginning to venture into chocolate-making or just starting to work with chocolate. However, if you intend to create beautiful, glossy chocolate, like those for cake decorations or dessert toppings, the process is absolutely necessary.
This is because untempered chocolate will have these characteristics:
If you don’t need the texture and appearance that results from the tempering process, then you don’t need to temper your chocolate. This could be when you use the chocolate as a cake filling, as a ganache that you pipe between layers of cake, or as a liquid filling inside lava cakes.
To answer your questions about tempering, and to fully understand what goes on when you are tempering chocolate, we need to get a bit scientific.
In the tempering process, it all comes down to the crystals. What crystals are we talking about here? Well, the fats in cocoa butter can crystallize in six different forms. Each form has its own properties.
|
Crystal |
Melting temp. |
Notes |
|
I |
17°C |
Soft, crumbly, melts too easily |
|
II |
21°C |
Soft, crumbly, melts too easily |
|
III |
26°C |
Firm, poor snap, melts too easily |
|
IV |
28°C |
Firm, good snap, melts too easily |
|
V |
34°C |
Glossy, firm, best snap, melts near body temperature (37°C) |
|
VI |
36°C |
Hard, takes weeks to form |
The primary goal in tempering is to make the fats crystallize into the most desirable form and ensure that only that crystal form is present. This goal can be reached when the chocolate reaches the type V crystal (also known as beta crystals).
This crystal structure has a glossy appearance with a firm texture and the best snap between the 6 phases. It also melts near body temperature, which means it melts in the mouth (around 37°C) but not on your hands (around 29°C).
During tempering, there are 3 factors at play that you need to pay attention to:
There are 2 basic principles of tempering, which are adding crystals and creating crystals.
Out of the two, adding crystals (also called seeding) is easier to do than creating crystals, as it doesn’t require a lot of equipment or preparation. To do this, we need tempered chocolate to use as a “seed”.
Now you might be thinking, “So, I need an already tempered chocolate to temper chocolate”?
The answer is yes. All store-bought chocolate are already tempered when they are manufactured, so they already have the form V or beta crystals that we want. For this method, we need the chocolate to be in the best condition possible, so we can temper it properly. Pick chocolate that’s far from its expiry date and keep it in a cool, dry place. Do not use chocolate that has been melted previously because it may not have enough beta crystals that we want.
What we do in this method is melt two-thirds of the chocolate until all the crystals are gone, then add the rest of the chocolate until it all fully melts. What happens is the added “seed” will encourage the formation of beta crystals in all parts of the chocolate. Next, heat the chocolate to its working temperature, which is 31-32°C for dark chocolate, 30-31°C for milk chocolate, and 29-30°C for white chocolate.
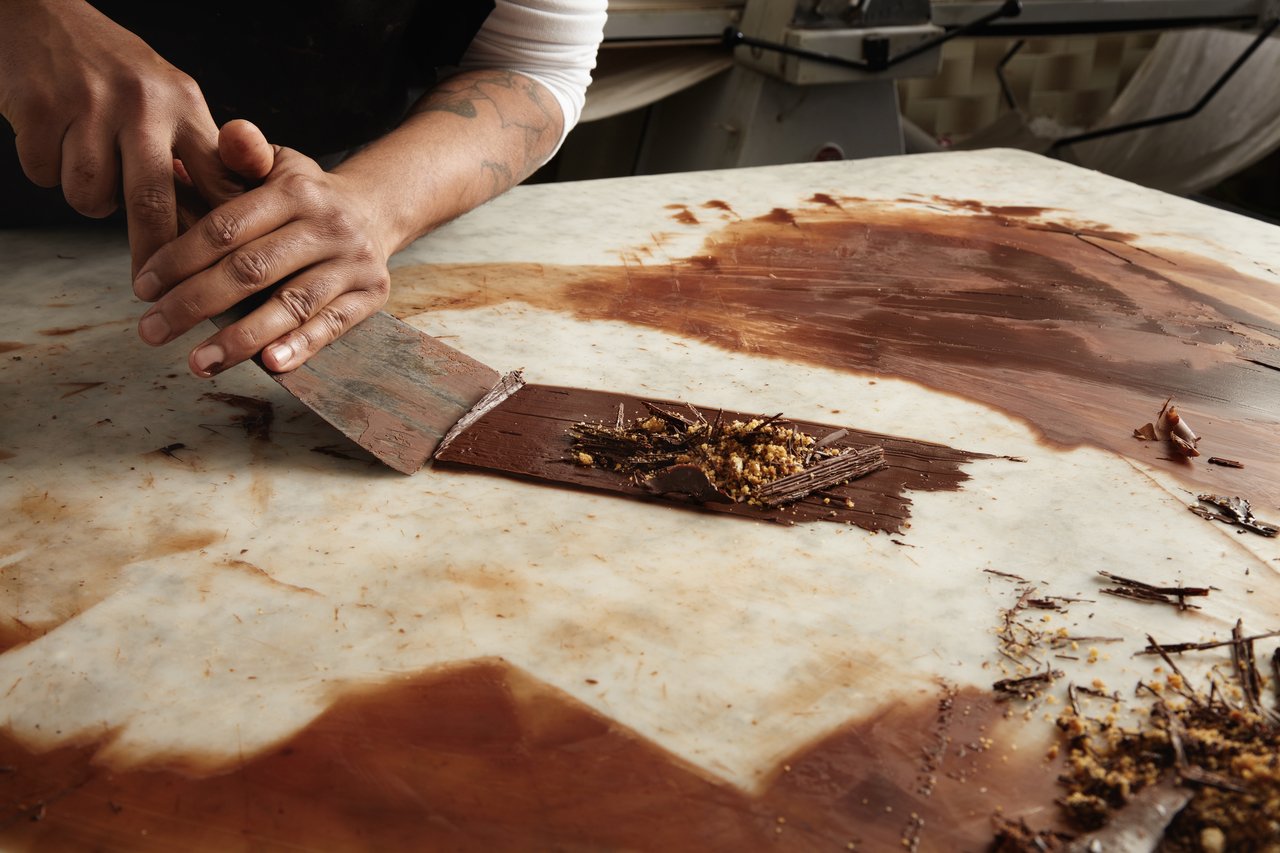
For creating crystals, there are 2 methods that we can use: the tabling method and the ice water bath method.
In principle, what we do here is melt the chocolate until all the crystals are gone, cool it down to encourage the formation of some crystals, then bring the chocolate to its working temperature where the beta crystals form.
The good thing about creating crystals is that we don’t need the chocolate to be in a perfect condition, meaning it’s alright if the chocolate has been melted before, has some fat bloom, or is left over from previous work.
In the tabling method, we use a marble or granite surface (such as a tabletop or a slab) to cool the chocolate down, while in the ice water bath method, a bowl of ice and water is used. To know how to temper chocolate using these methods, check out this interesting article.
If you need high-quality couverture chocolate for any of your baking, dessert, or chocolate-making applications, then check out our couverture chocolate range on our products page. For more information regarding the pricing, speak to one of our knowledgeable sales reps by visiting our contact page.
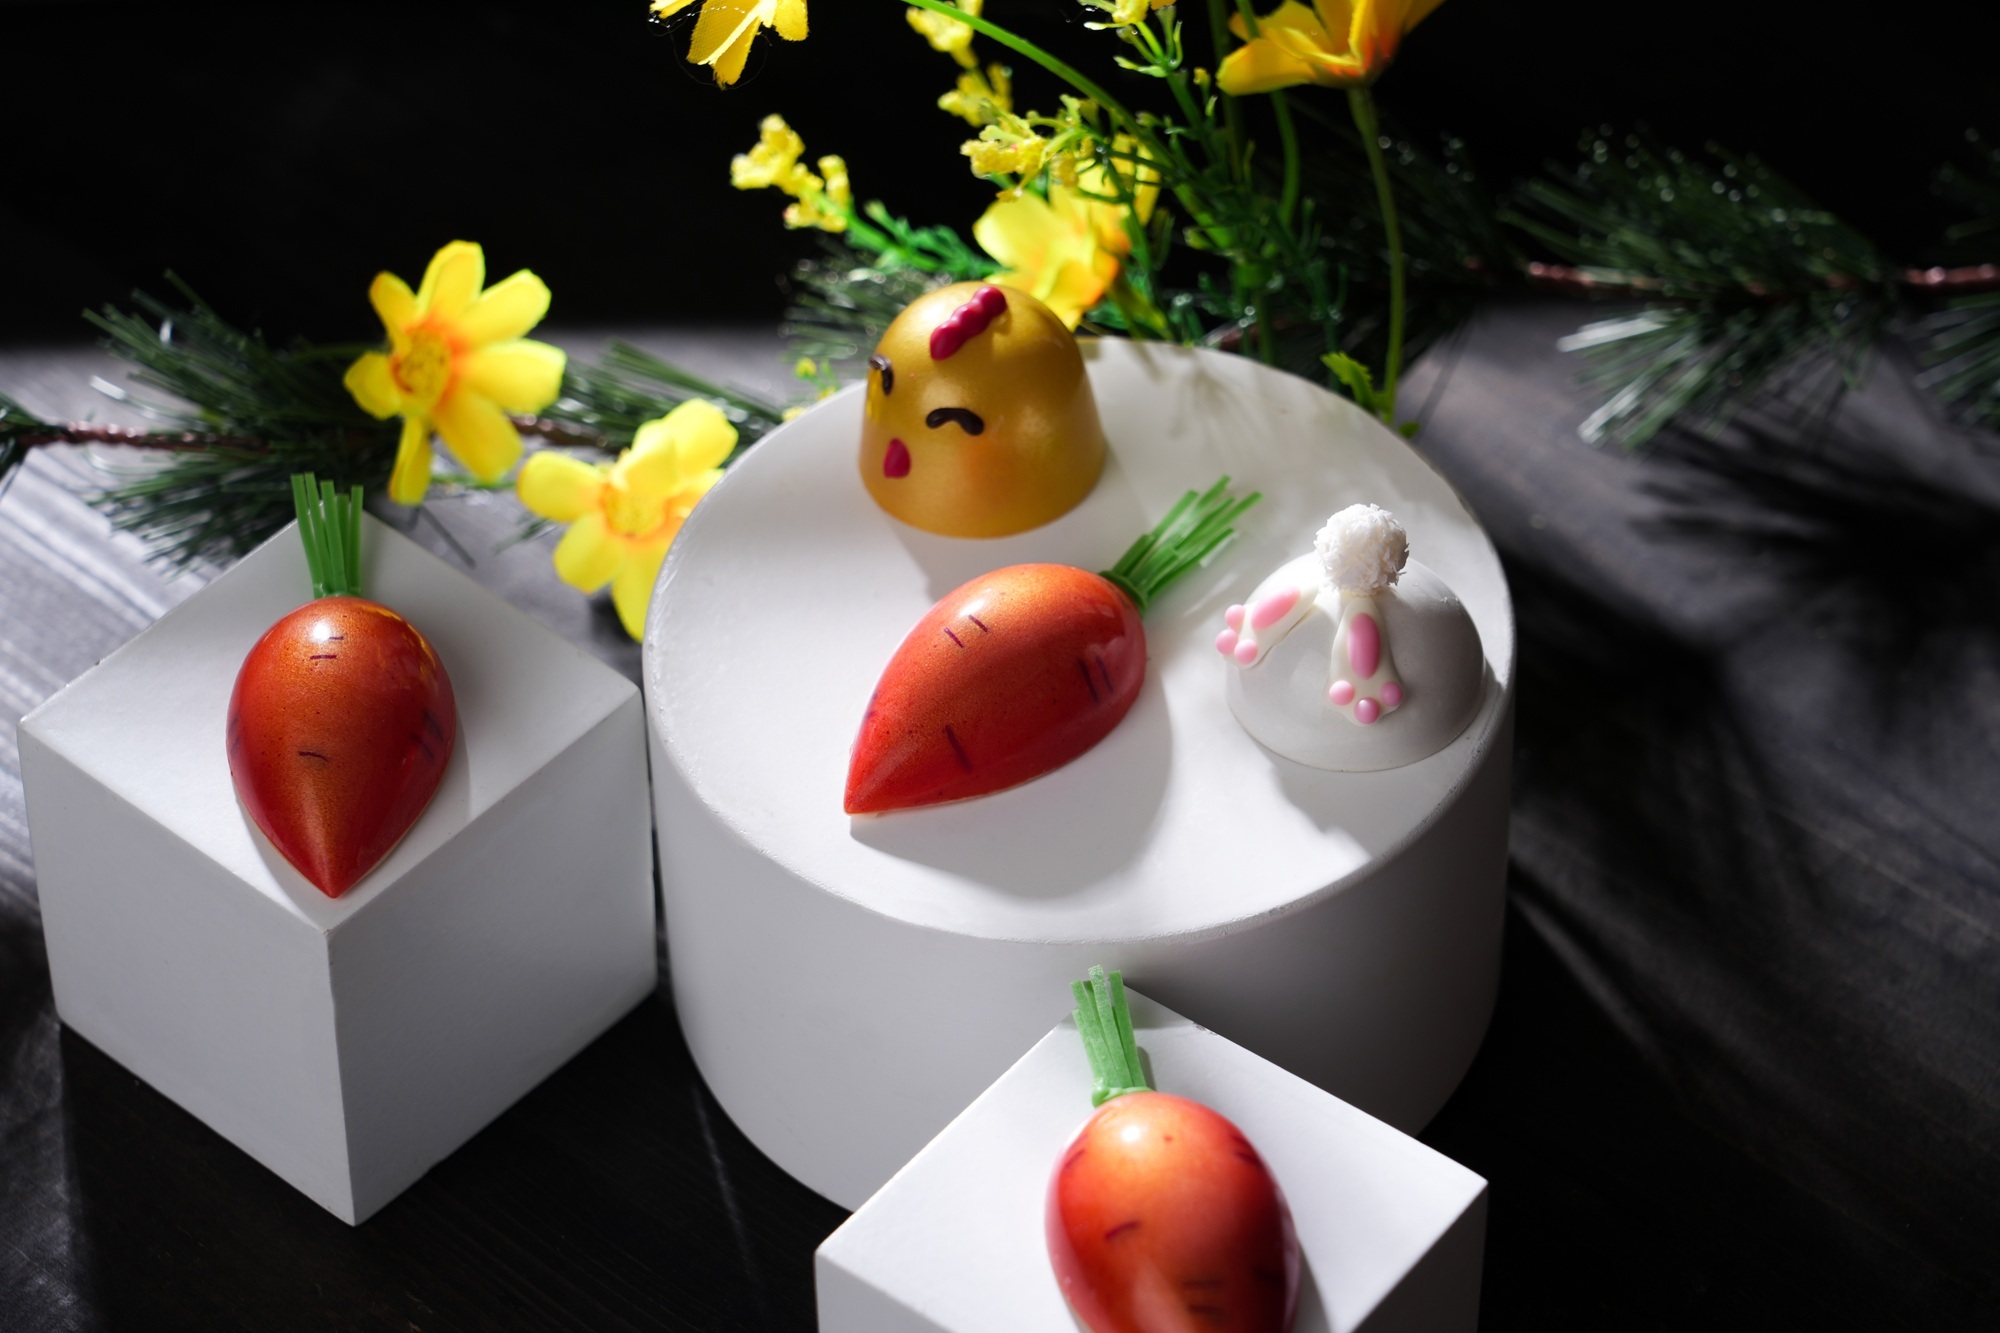
This Easter, we are redefining the seasonal palate by pairing the velvety, well-balanced sweetness of Embassy Zen 33% White Chocolate with a trio of...

Colour is not just an accent, it's a powerful medium that can transform a simple dessert into a captivating work of art.
Chocolate, a beloved treat enjoyed by millions worldwide, is facing a bitter truth: the steady rise in cocoa bean prices due to disease outbreaks and...