

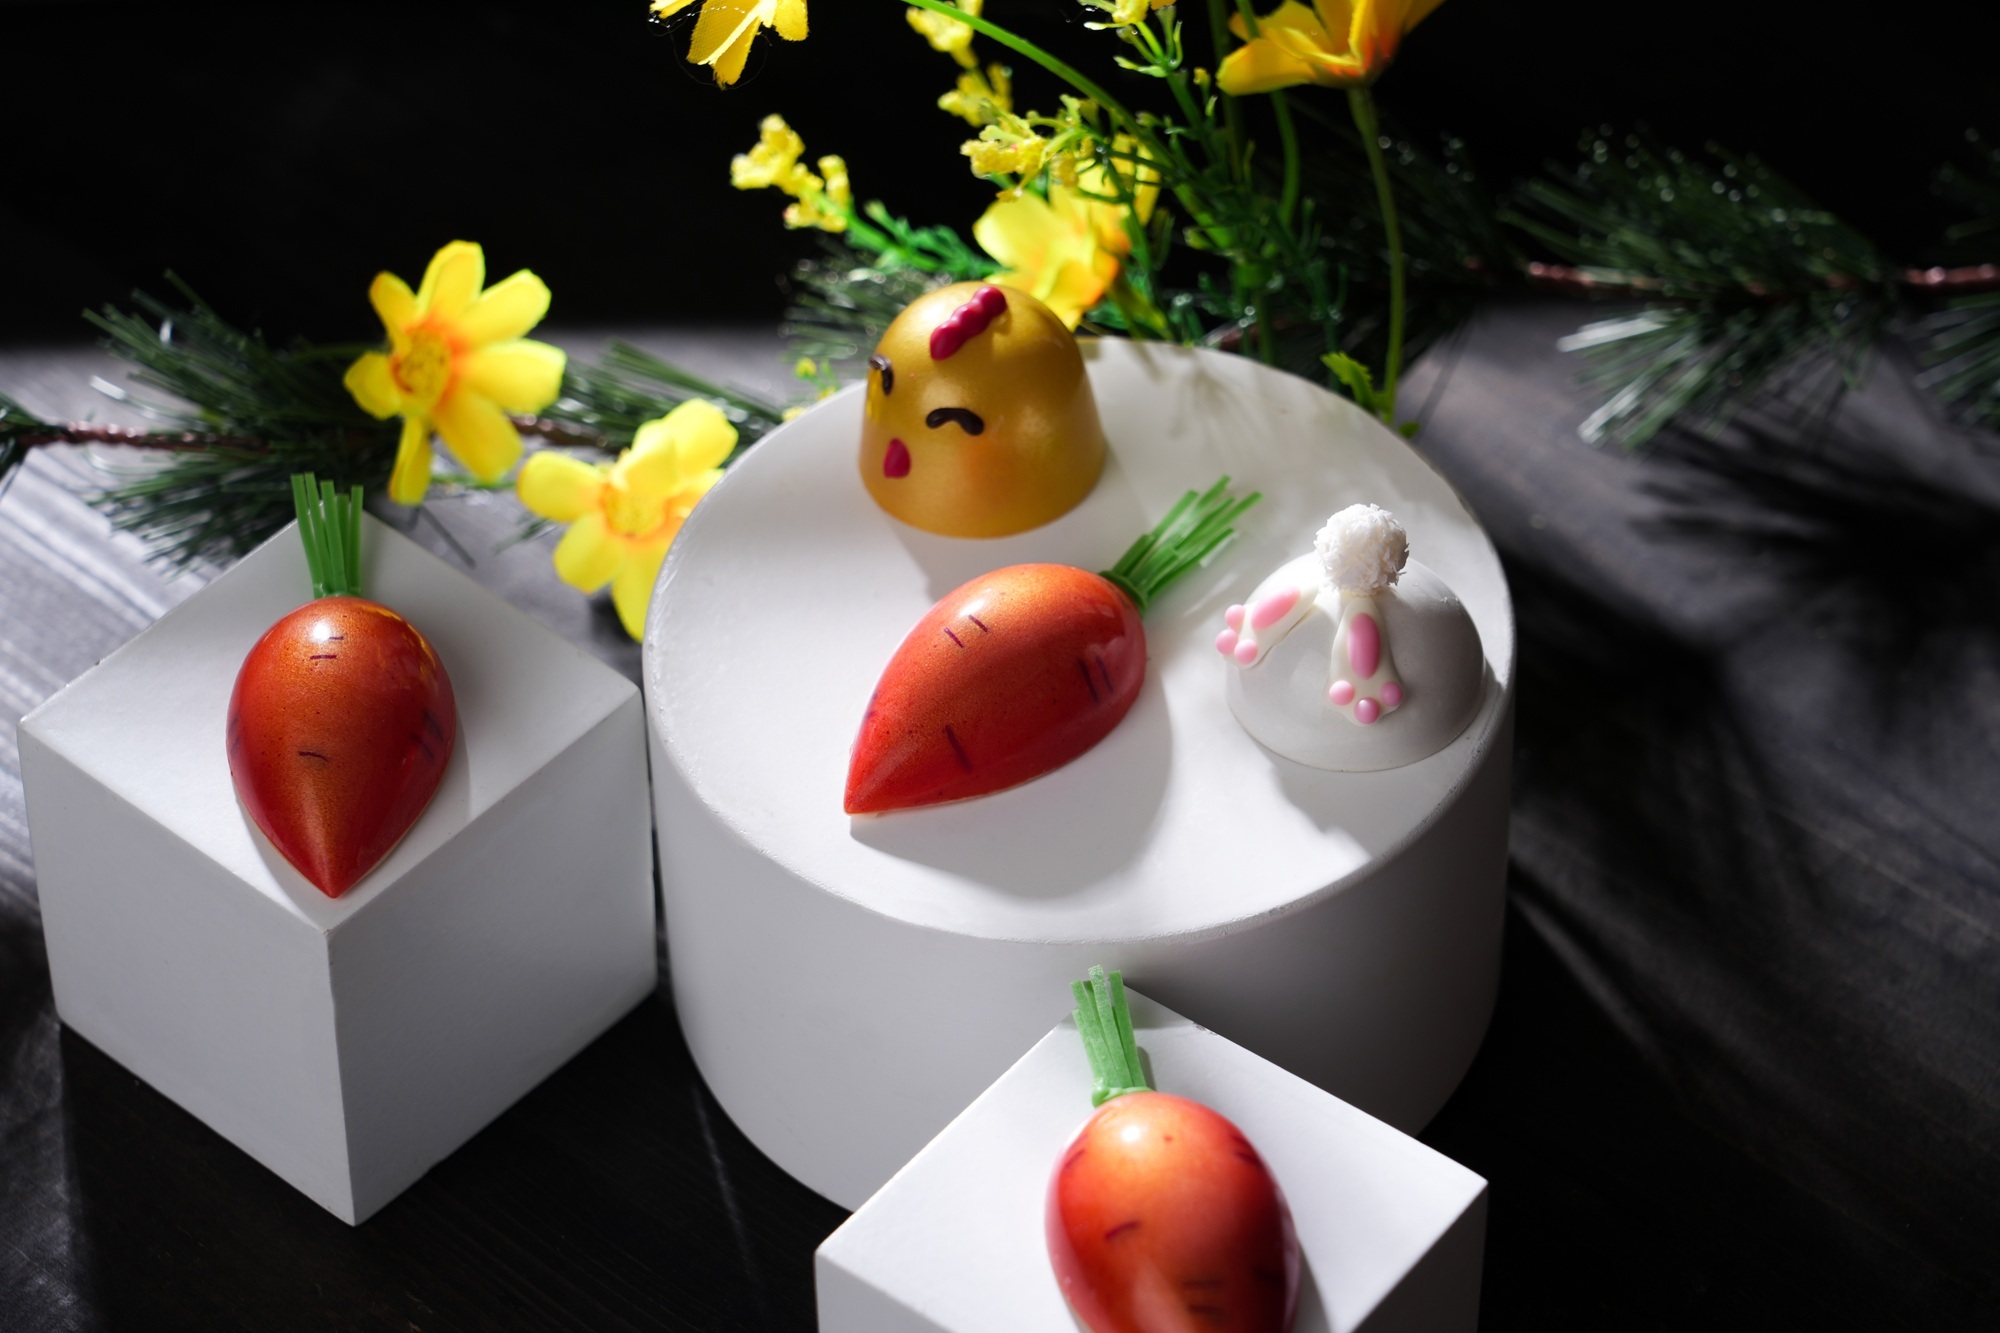
Embassy Chocolate's Easter Special: Bonbon Recipe Collections
This Easter, we are redefining the seasonal palate by pairing the velvety, well-balanced sweetness of Embassy Zen 33% White Chocolate with a trio of...
3 min read
If you’re just starting out to make truffles, pralines, or other candy chocolates, you may not have the fancy equipment to speed up the chocolate dipping process. But no worries! In this article, we’re covering what you need to know when dipping chocolate and two techniques you can master to create the perfect pralines.
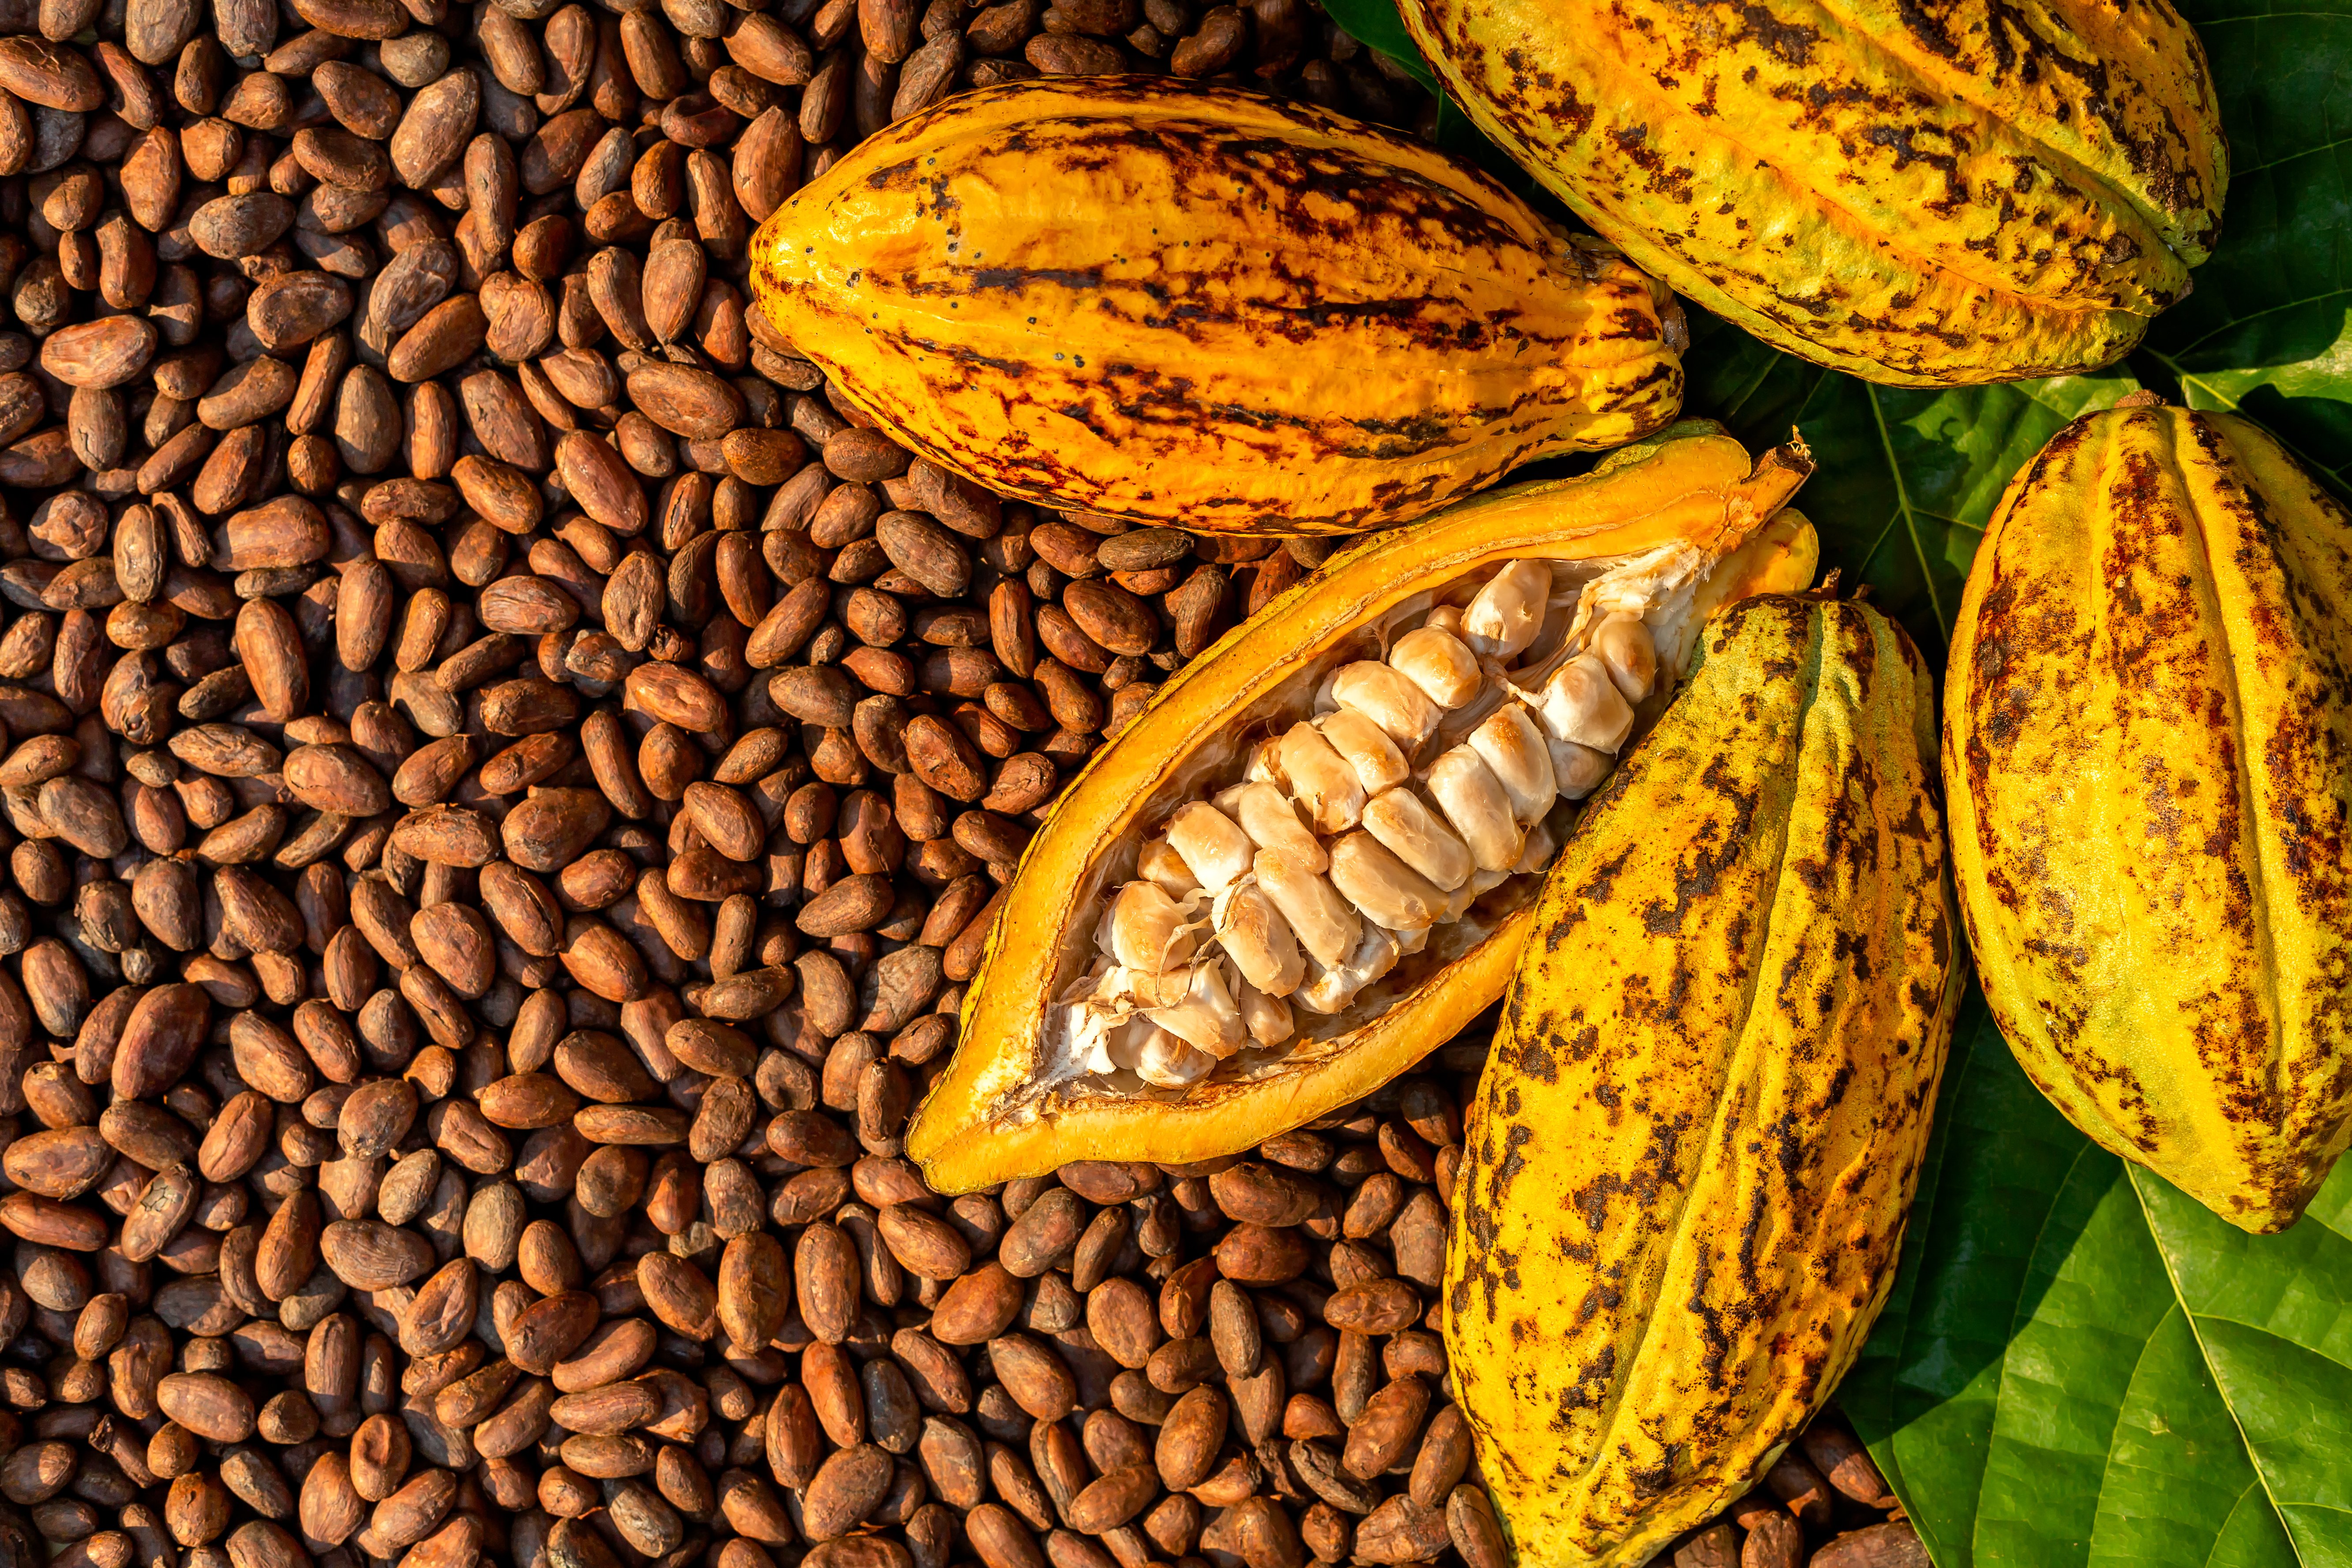
Before you can learn the right chocolate dipping techniques, of course, you'll need the perfect dipping chocolate first. Not all dipping chocolate is created equal! Those made with couverture chocolate will have a smooth texture and a glossier appearance.
So, how can you make it? Don't worry! Embassy Chocolate has just the recipe for you!
This recipe will make a dark chocolate dipping sauce. If you wish for your dipping chocolate to be sweeter and lighter in flavor, try using Embassy Azalea Milk Chocolate Couverture 34% instead. Alternatively, you can also use Embassy Zen White Chocolate 33% and some food coloring to create colorful dipping chocolates.
There are 2 chocolate dipping techniques you can use. The first is the pulling technique, which creates a thin layer of chocolate. The other is the turning technique, which is a slight variation of the pulling method. This creates a thicker layer of chocolate.
Here are the tools you need for either technique:
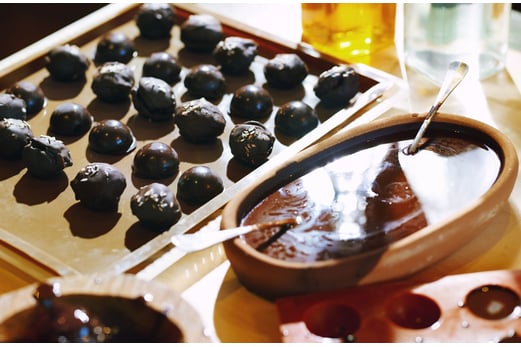
In both techniques, make sure to have your dipping fork clean at all times so you can easily slip the pralines onto the tray. After a few dips, heat the fork with a heat gun and clean off the chocolate sticking to the fork using a tissue or a kitchen cloth. Also, use gloves when dipping, so the fillings are kept hygienic.
Gently press the filling, bottom side down, into the melted chocolate until the top is level with the chocolate’s surface. Then, pull a thin layer of chocolate over the filling with the dipping fork.
Using the fork, lift the filling and then gently tap the fork against the chocolate surface repeatedly. The surface tension will pull the excess chocolate off the praline. This will cause the remaining chocolate layer to become thinner and smoother.
Clean the bottom of the fork against the side of the bowl or melter, then release the chocolate-covered praline from the fork onto a tray or baking sheet. To prevent some “feet” from forming on the praline from excess chocolate, try to slide off the fork and have the praline remain on the tray.
Allow the chocolate to set at room temperature for a few minutes. Putting them in the fridge immediately will cool them too quickly, creating a greyish appearance. When the chocolate is dry to the touch, put them in a refrigerator at 18-20°C for about 30 minutes to let them fully crystallize. Then finally, store them in a fridge at 16-18°C.
Gently press the filling, bottom side up, into the melted chocolate until the top is level with the chocolate’s surface.
Then, press down on one side of the filling with the fork to make it turn the bottom side down.
The rest of the process is the same as the pulling technique, from lifting the filling and then gently tapping the fork against the chocolate surface repeatedly to storing the pralines in the fridge.
Before we get to the chocolate dipping techniques, here are some useful tips.
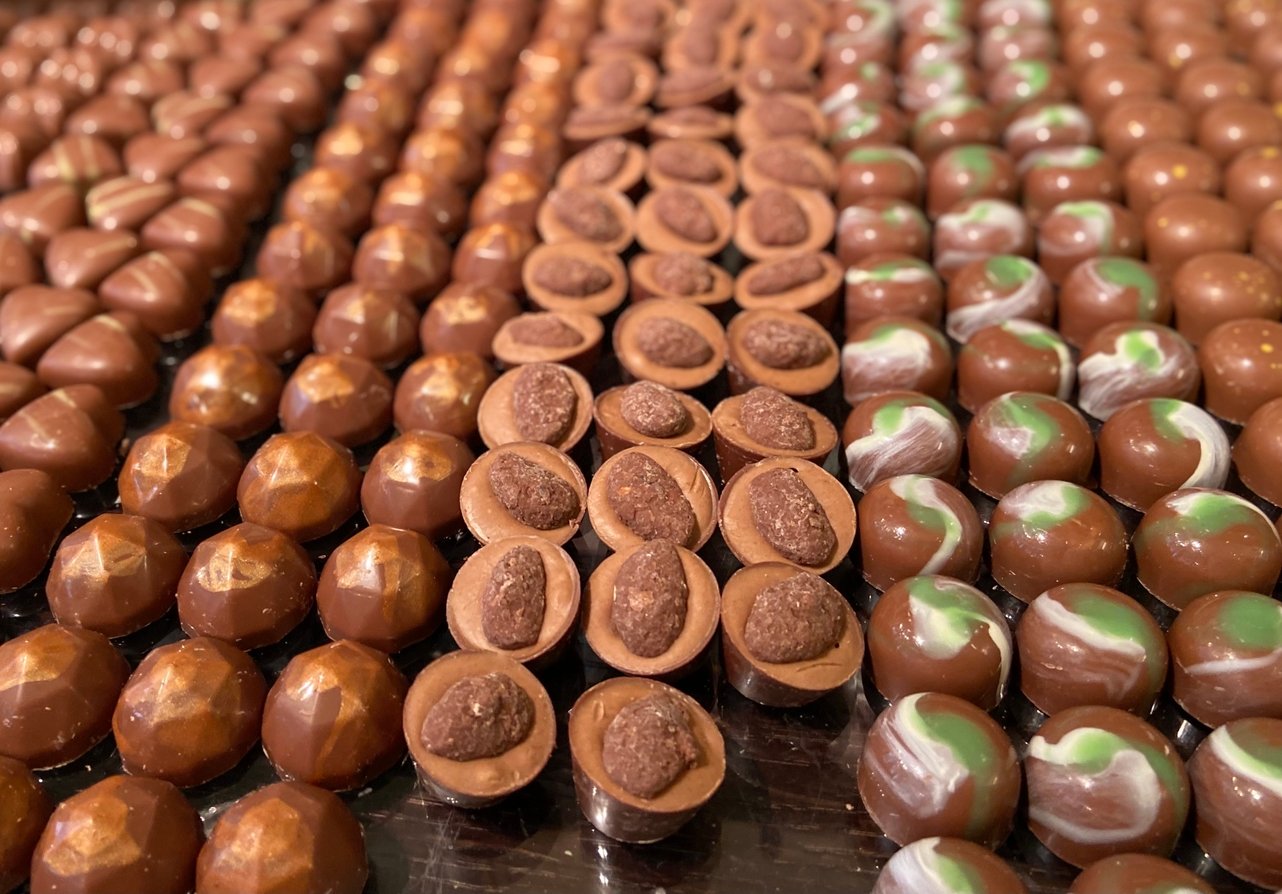
Not all chocolates are created equal. For dipping purposes, it is best to use a type of chocolate called couverture. This type of chocolate has an excellent fluidity thanks to its high cocoa butter content, making it easier to create thin layers of chocolate for your pralines. Embassy Chocolate has a dedicated line of versatile couverture chocolate products for your needs. Check out our products here.
To create the perfect pralines, you will need to temper your chocolate after melting it down. This will ensure that you will get chocolate that’s easy to work with and gives you pralines with an evenly hard, shiny coating that has a satisfying “snap” when you bite into them.
Next, you need to make sure that you are using enough chocolate. As you dip your praline filling, you need your chocolate to have a consistent flow rate, so that they all set into a fine layer of chocolate. Otherwise, the chocolate will cool down too quickly, and you’ll need to start all over again. So, make sure to have a minimum of about 400 grams of chocolate ready.
Another way to prevent your chocolate from cooling too quickly is by keeping them in a melter or a heated vessel. This helps it stay at your preferred temperature for a long period of time.
And there you have it, 2 easy chocolate dipping techniques to create the perfect pralines. For more tips on working with chocolate, head to our blog. If you’re interested in our couverture chocolate products, visit our contact page to get in touch with our consultants.
This Easter, we are redefining the seasonal palate by pairing the velvety, well-balanced sweetness of Embassy Zen 33% White Chocolate with a trio of...

Colour is not just an accent, it's a powerful medium that can transform a simple dessert into a captivating work of art.
Chocolate, a beloved treat enjoyed by millions worldwide, is facing a bitter truth: the steady rise in cocoa bean prices due to disease outbreaks and...