

Embassy Chocolate's Easter Special: Bonbon Recipe Collections
This Easter, we are redefining the seasonal palate by pairing the velvety, well-balanced sweetness of Embassy Zen 33% White Chocolate with a trio of...
3 min read

If you are interested in making molded chocolates such as pralines/bonbons, chocolate bars, or hollow figures, then there is one important technique that you need to learn to master: making chocolate shells.
Chocolate shells are made of melted chocolate that is molded to create a thin layer of chocolate. After it hardens, it forms a hollow shell that you can then fill with chocolate ganache or other fillings, non-food items, or just leave it hollow to present as a decoration. Because it is basically an outer case made out of chocolate, people call it chocolate shells.
Chocolate shells are relatively easy to make, but you need to know the right way to make it and the ingredient you need. Luckily, you only need one ingredient to make chocolate shells: chocolate!
You can’t just use any type of chocolate, though. The chocolate needs to have the right consistency to create a thick and hard shell so that it doesn’t crack in the process of moulding, yet is thin enough to make the moulding process efficient.
For the best results, use couverture chocolate. This type of chocolate is specifically created to accommodate applications like moulding, enrobing, and coating. Couverture chocolate is a more premium type of chocolate with a high fluidity thanks to its high content of cocoa butter, making it easy to work with for moulding purposes. In general, it also has a better flavor profile than regular chocolate because of its higher quality.
For moulding purposes, we recommend the Embassy Oceanic Blend Dark Chocolate Couverture 65%. This high-quality couverture chocolate comes in coin form and has 43% fat content. It has a well-balanced dark chocolate flavor that is followed by notes of dried fruits and nuts.

To create chocolate shells that are hard, glossy and cracks nicely when bitten into, follow these steps below:
Embassy Oceanic Blend Dark Chocolate Couverture 65%
Polycarbonate mould of your choice
Chocolate scraper
Heat gun or blow dryer
First, prepare your tempered chocolate. Check this article for an in-depth guide on how to temper chocolate. You also need to prepare your mould by heating it briefly with a heat gun. This is done to prevent temperature shock, which can cause blooming.
Now you are ready to mould your chocolate. Pour the tempered chocolate into the mould. Tilt the mould and scrape the excess chocolate from the surface and edges of the mould with the palette knife. Tap it against your kitchen counter to remove air bubbles and even the chocolate.
Next, pour the excess chocolate off the mould, and then check if all the surface of the mould is fully covered with chocolate. Scrape the mould to remove the excess chocolate from the surface and edges of the mould. Drain the mould by tapping it on your kitchen counter, scrape the excess chocolate once again, then put it on a baking paper for a few minutes to set.
For small and medium sized mould, it is enough to do this process once. With bigger moulds, however, it is better to repeat the process several times to ensure that the shell is thick and strong enough to hold the structure. Each time you put on a layer of chocolate, let it drain on the paper for a few minutes for it to harden at room temperature gently.
If you intend to fill the mould with ganache, praline or any other filling, now is the time to do it. Make sure that your filling is not too hot, 25°C is a good limit. Use a piping bag to fill them until almost full, about 2 mm from the edge, so that you will still have space to close the shell. Then, leave to harden at 17°C for a minimum of 12 hours. This way you will have a better and more stable ganache.
To close the chocolate shell, heat the surface of the mould very briefly using the heat gun. This is done so that the chocolate can stick, like a glue would. Shortly afterwards, spread a small amount of tempered chocolate on top of the mould. Remove excess chocolate with the scraper. Leave to let the chocolate semi-set in room temperature (18-20°C) for a few minutes, then cool it in the fridge (8-12°C) between 15 to 30 minutes until fully set.
To de-mould the chocolate, put a flat plate on top of the mould, then turn the mould over with one swift movement. Then, firmly tap the mould on your kitchen counter. Your chocolate should come off the mould perfectly.
If you need high-quality couverture chocolate for any of your baking, dessert, or chocolate-making applications, then check out our couverture chocolate range on our products page. For more information regarding the pricing, speak to one of our knowledgeable sales reps by visiting our contact page.
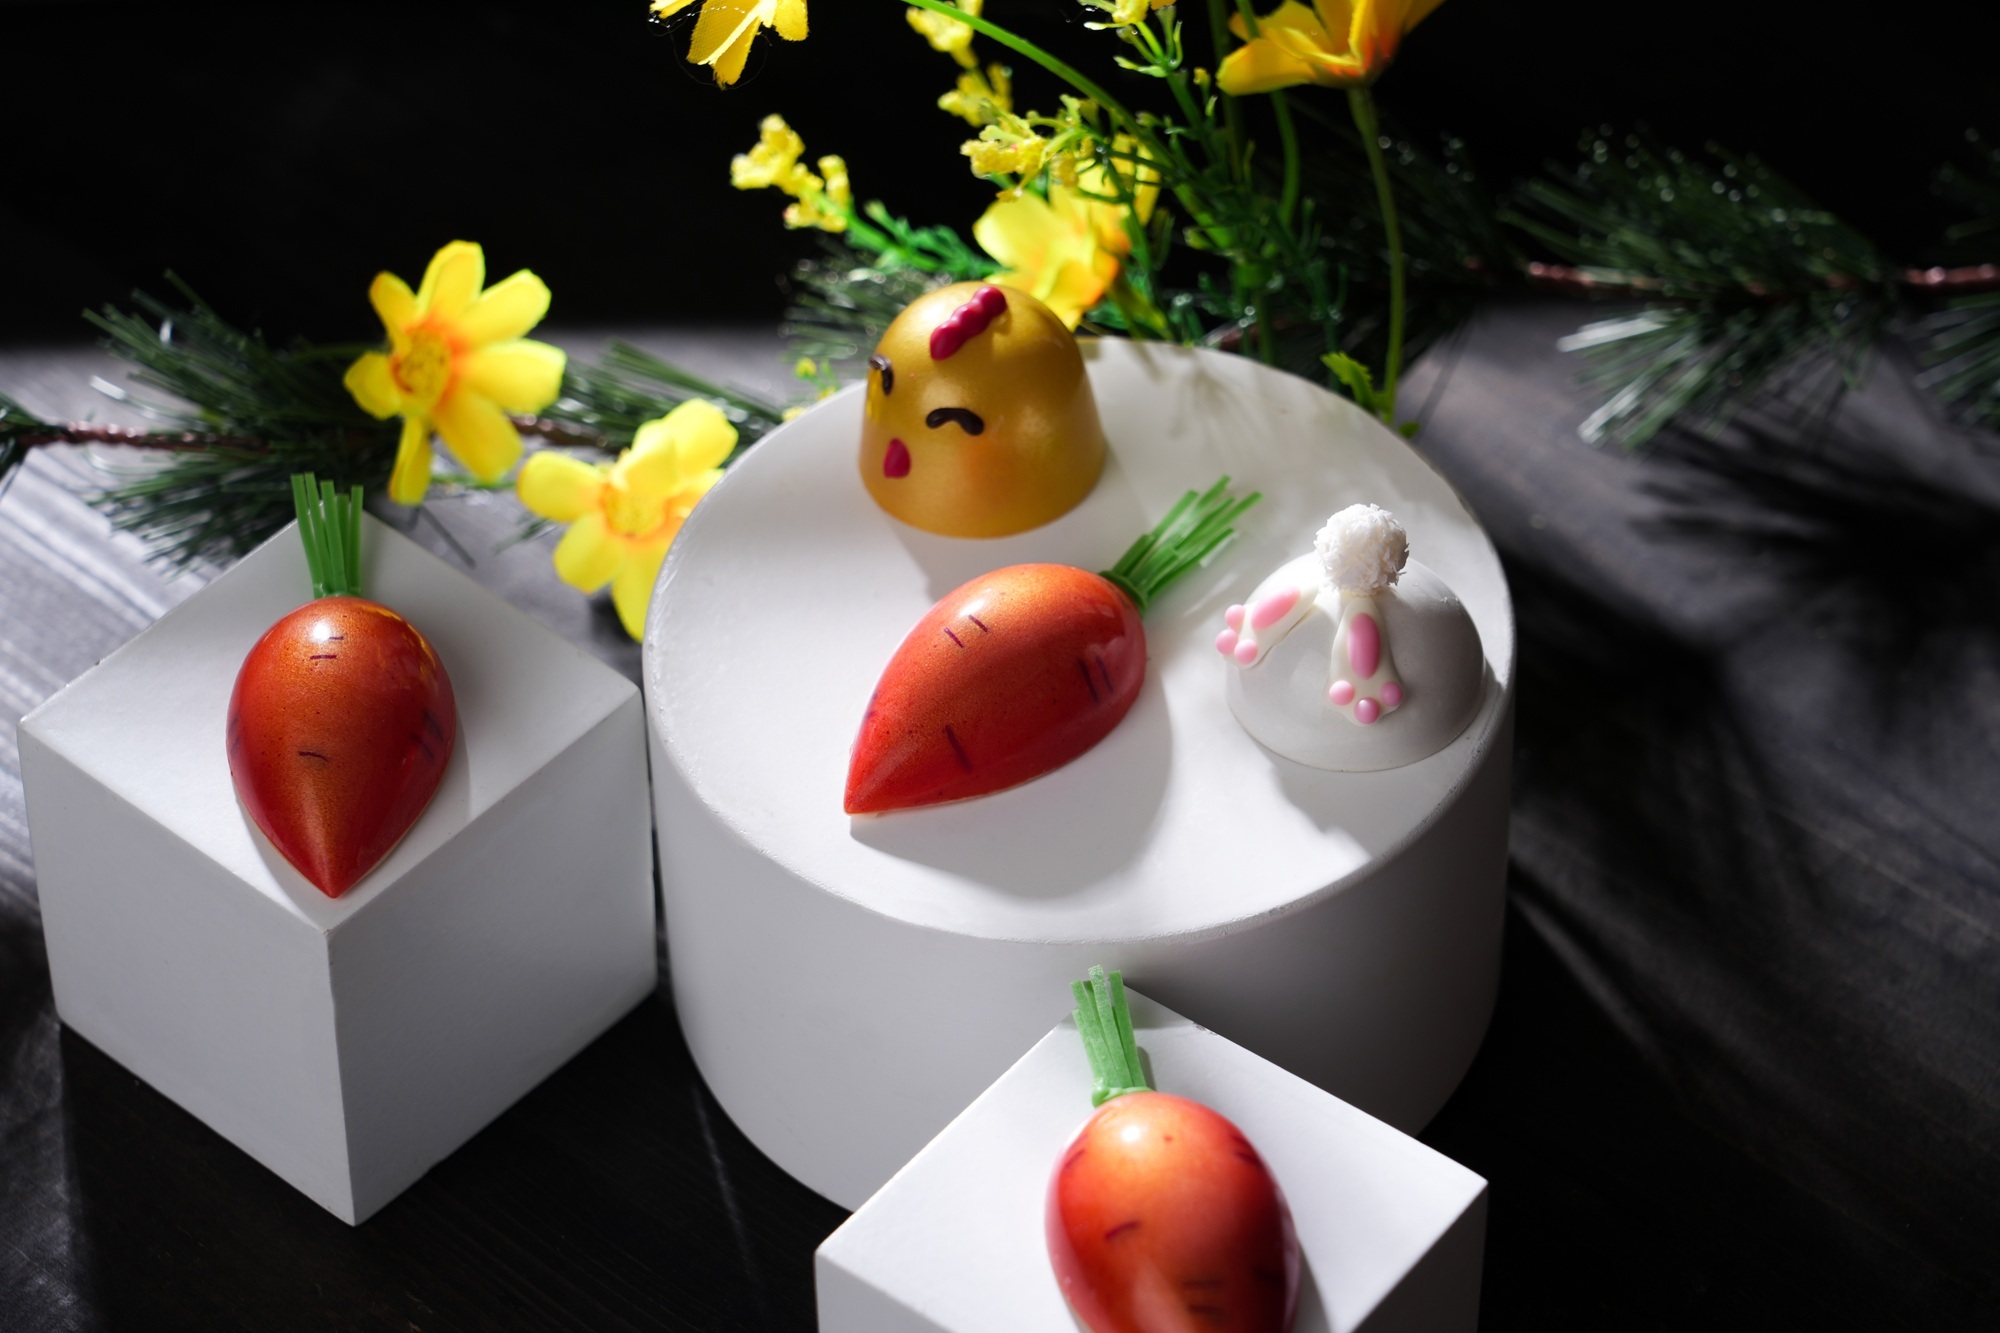
This Easter, we are redefining the seasonal palate by pairing the velvety, well-balanced sweetness of Embassy Zen 33% White Chocolate with a trio of...

Colour is not just an accent, it's a powerful medium that can transform a simple dessert into a captivating work of art.
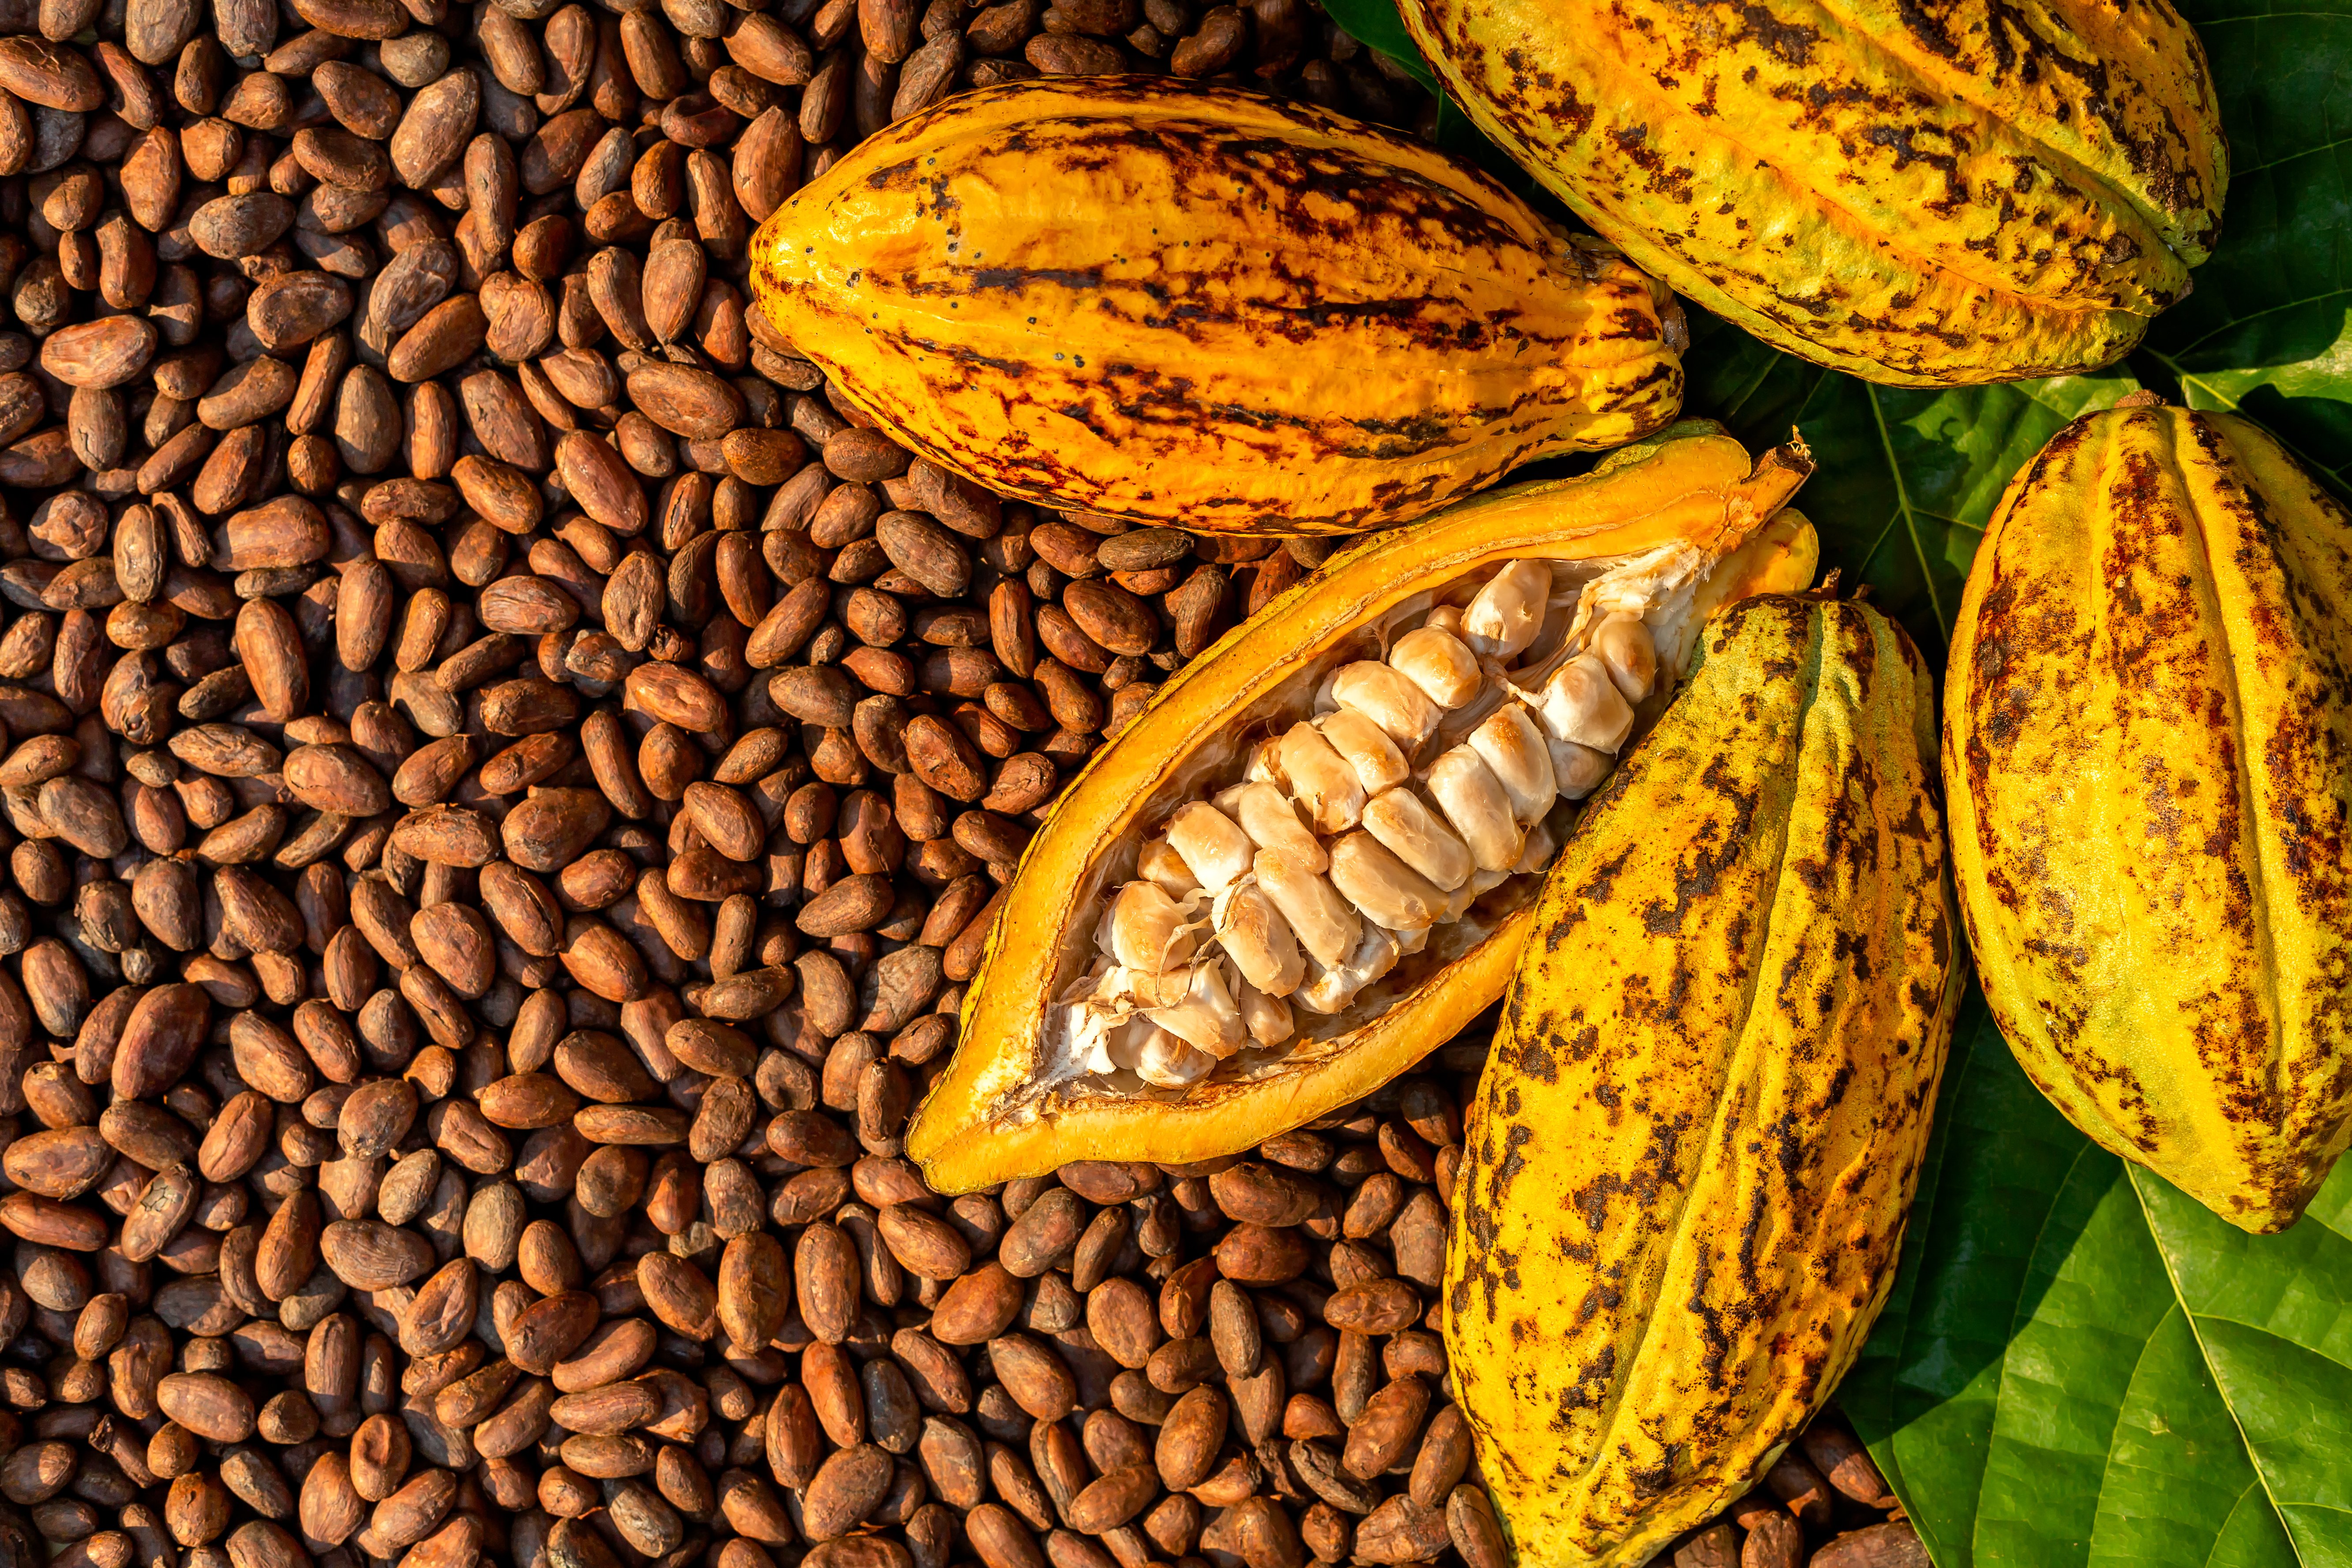
Chocolate, a beloved treat enjoyed by millions worldwide, is facing a bitter truth: the steady rise in cocoa bean prices due to disease outbreaks and...