

Embassy Chocolate's Easter Special: Bonbon Recipe Collections
This Easter, we are redefining the seasonal palate by pairing the velvety, well-balanced sweetness of Embassy Zen 33% White Chocolate with a trio of...
3 min read
Adding chocolate decorations is one of the easiest ways to elevate your cake’s appearance. It also makes your cake look more luxurious, it also adds flavor and texture dimension to your creation.
If you’re just starting to make cake decorations, however, working with chocolate might sound pretty challenging. But don’t worry. In this article, we are giving you five chocolate decoration techniques that are as easy to make as they are pleasing to the eye.
Before getting into the techniques, you need to know what chocolate gives you the best results.
The easiest chocolate to use that creates the smoothest decoration is couverture chocolate. It has better fluidity than regular chocolate thanks to its high cocoa butter content. This also makes it easier to handle, which is great for beginners.
If you’re looking for versatile couverture chocolate that has excellent fluidity, Embassy Chocolate is for you. Take a look at our dedicated couverture collection on our product page.
Whether you use regular or couverture chocolate, it is best to temper your chocolate first. This makes it possible to achieve a glossy appearance and a firm texture. If you want to know how to temper chocolate properly, read our article about how to temper chocolate.
Here are five simple chocolate decoration techniques for your next cake creation without further ado.
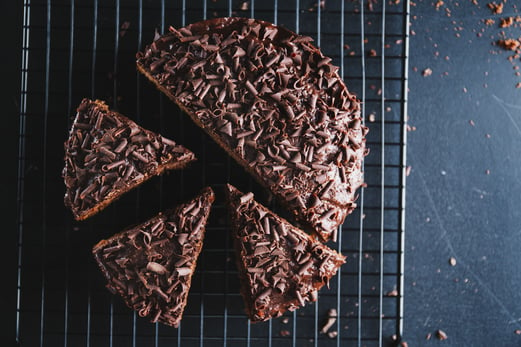
Chocolate shaving is one of the easiest chocolate decorations you can make. All you need is a chocolate bar and a spatula.
Place a chocolate bar vertically and shave it thinly using a spatula to make the chocolate shavings.
You can use the shaving to decorate the top part of your cake, or if you’re using buttercream or fondant, you can sprinkle them on the sides.
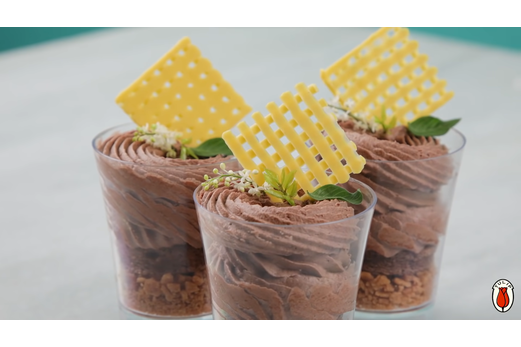
To make a chocolate net, you will need melted chocolate. Melt your preferred chocolate to 40-45°C, then cool it down to 34°C.
Cut some baking paper into squares. Then, pour the melted chocolate onto the baking paper, rake the chocolate using a metal comb, and wait until it sets.
Then, heat the edges of a cutter in the shape that you want and use it to cut the chocolate. Carefully remove it from the mold.
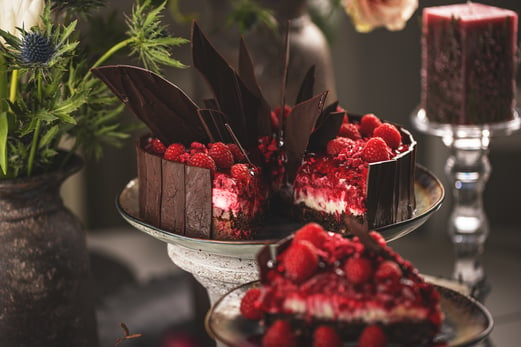
Chocolate shards add a dramatic yet elegant look to your creations. You can also get creative with how the fragments look: use different types of chocolate for a marbled effect or decorate the chocolate with sprinkles, edible flowers, or other designs you like.
First, melt the chocolate of your choice, then pour it onto a tray lined with parchment paper or foil. If you’re using different types of chocolate, melt them separately and drizzle one on top of the other before it sets.
Then, even out the mixture by shaking the tray gently. Leave to set. When hardened, chop into shards.
Put the shards vertically on top of your cake, or stick them to the sides to make it look like a chocolate cage.
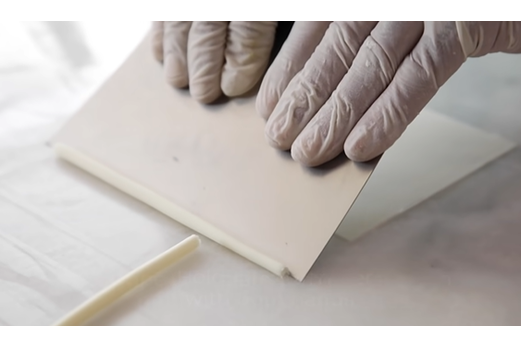
First, you will need to pour tempered chocolate onto a flat surface, preferably a marble countertop to make your chocolate cigarettes.
Spread the chocolate out to make a thin rectangular layer and wait until it sets. Using a scraper, scrape the chocolate perpendicular to the rectangle’s length in one smooth motion, curling the chocolate into a cigarette shape.
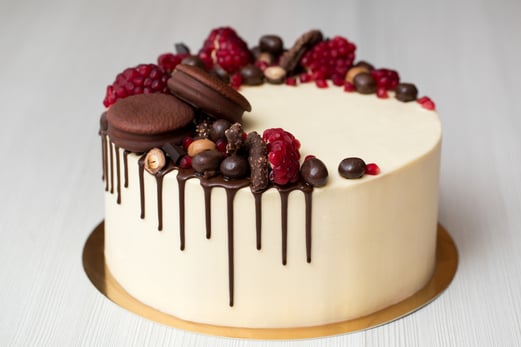
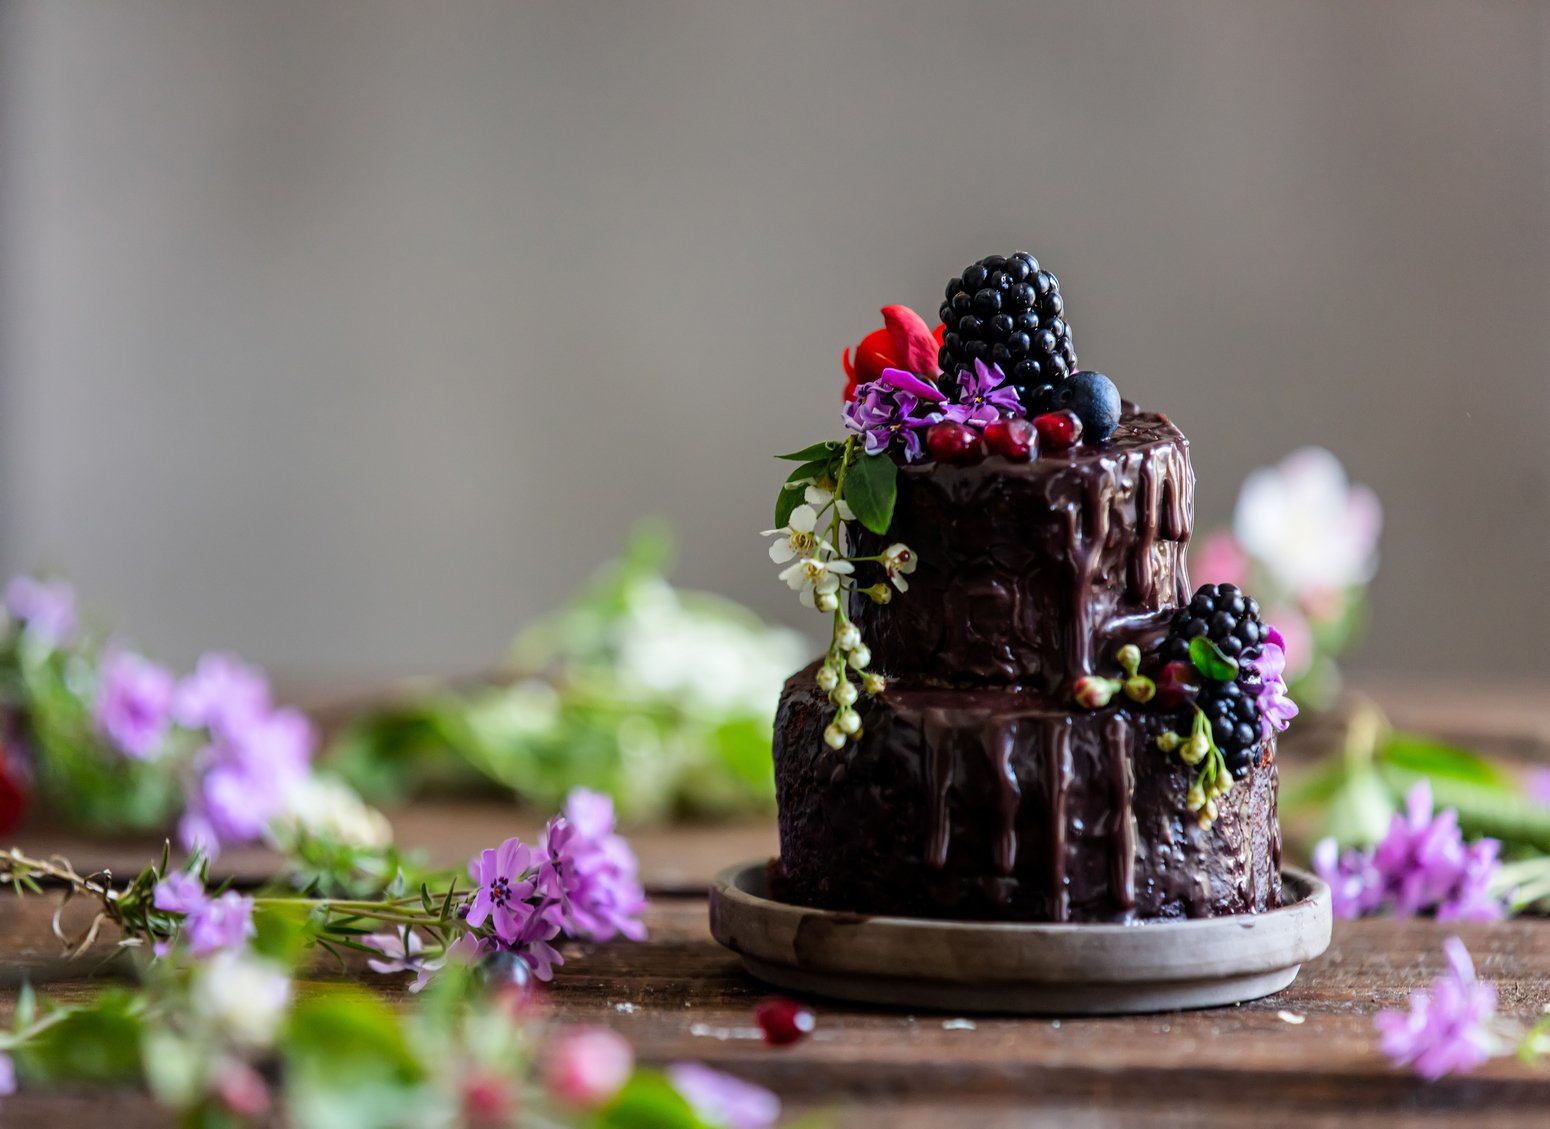
Adding chocolate dripping is an easy way to make your cake look more appealing. All you need is a simple ganache. Find the secret to making a glossy chocolate ganache right here. A tip is to let your ganache cool first to room temperature before decorating, so it has a better consistency and sets quicker.
In making a chocolate drip, you might think to fill the top and let the ganache run down naturally, but that way you don’t have control over the appearance of the chocolate drip. So, we recommend dripping the sides first before filling in the top.
There are 2 ways to make chocolate drip. The first way is using a spoon. All you have to do is take a little bit of ganache in your spoon, about 1-2 teaspoons, and carefully pour it over the edge of your cake. Another way is to use a squirt bottle or a piping bag. This way, it’s easier to control the dripping process.
Before dripping onto a cake, it’s best to have your cake chilled first to better control how far the ganache drips on your cake. It also helps the ganache to set quicker.
If you want to use couverture chocolate for your business, consider Embassy Chocolate. We are a #ProudlyAsian brand specializing in couverture chocolate, proudly made in Indonesia. If you’re interested, don’t hesitate to contact us by visiting our contact page.
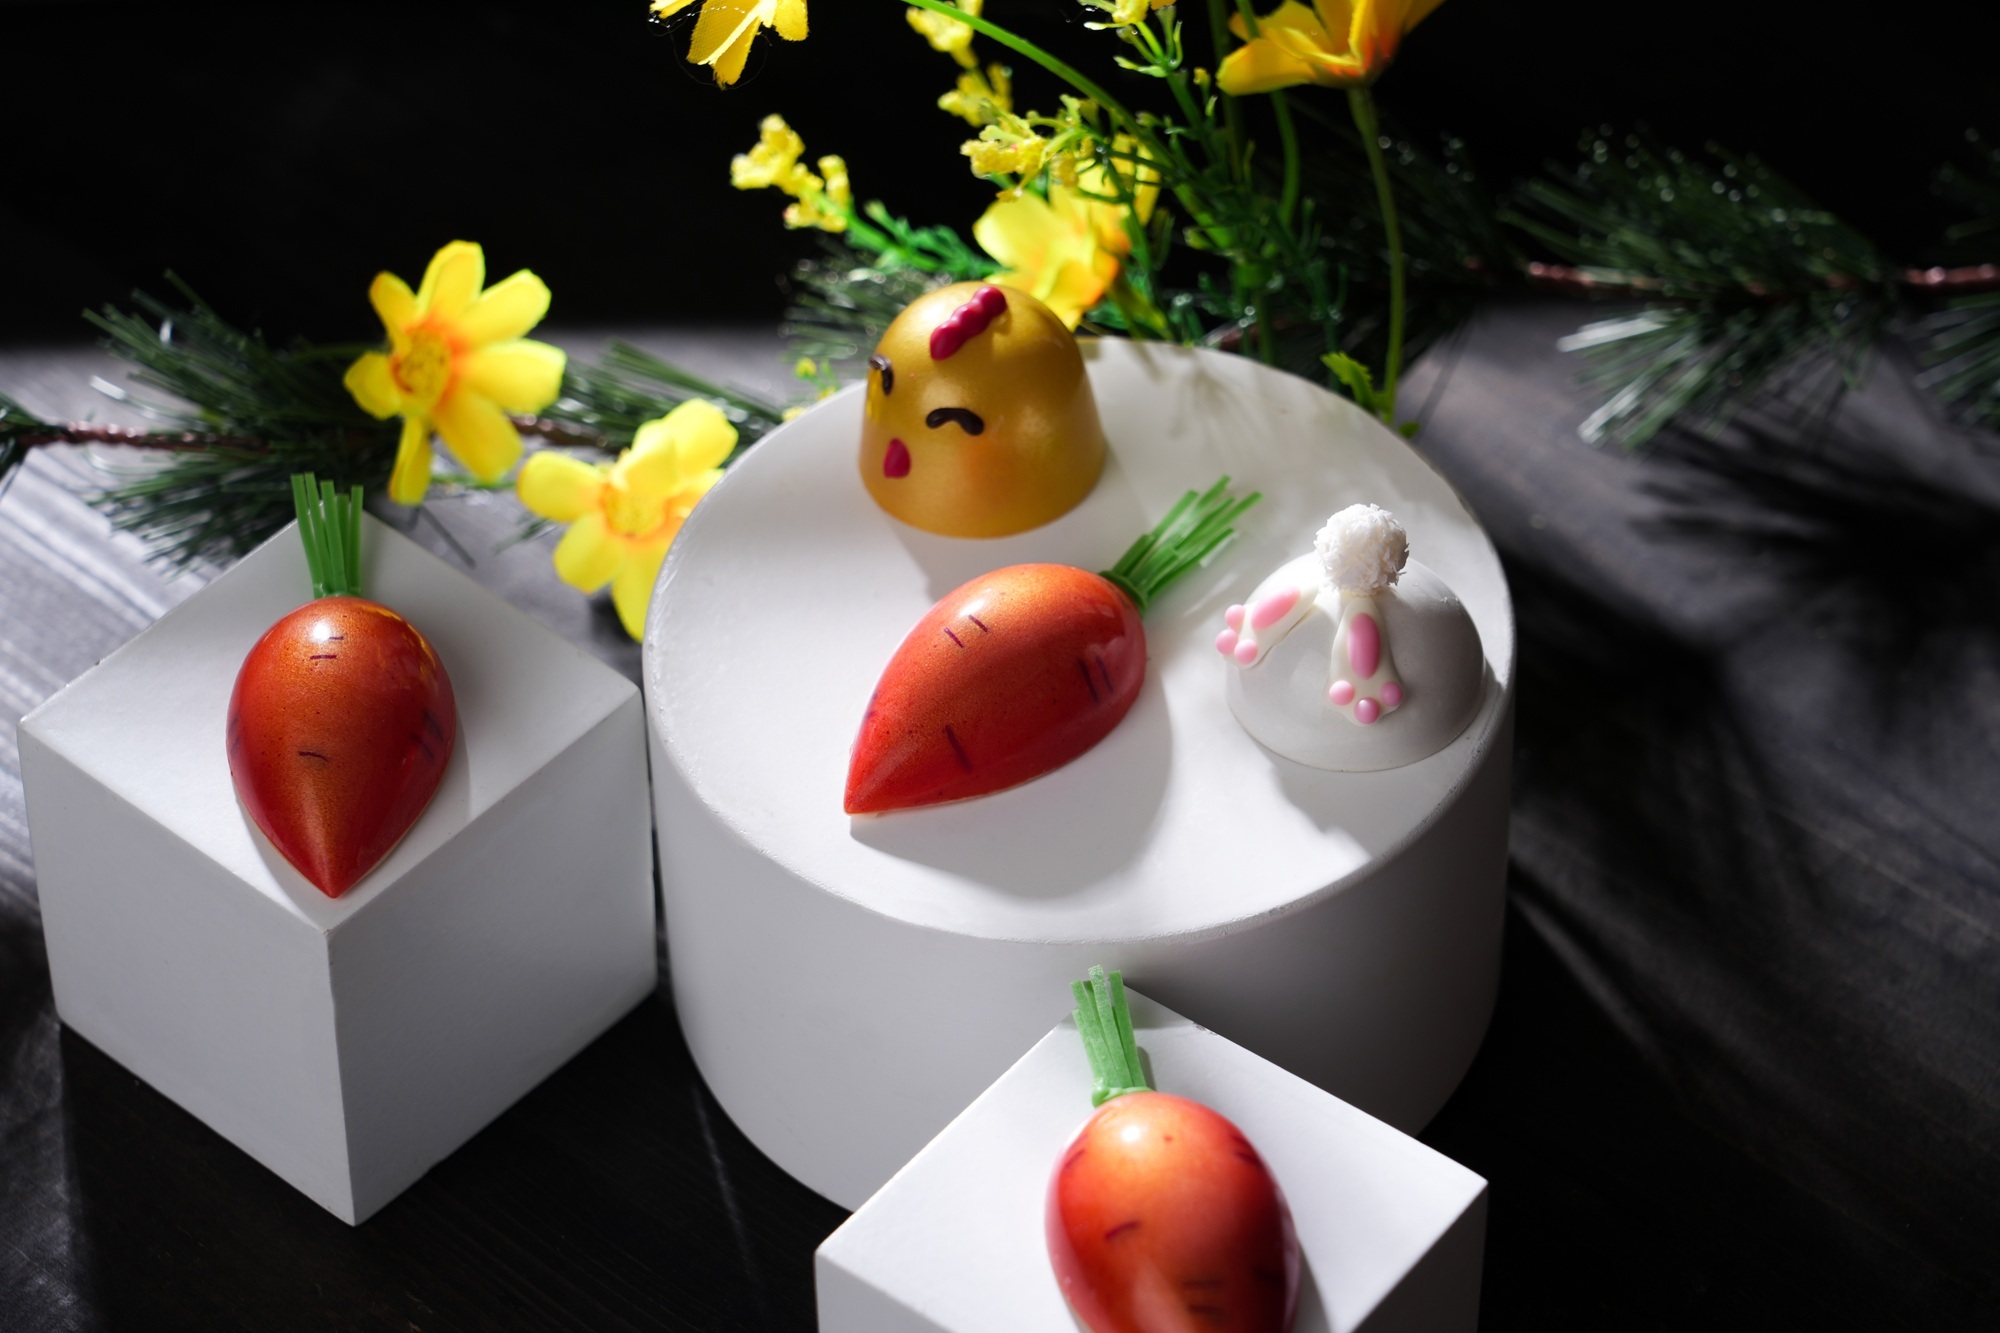
This Easter, we are redefining the seasonal palate by pairing the velvety, well-balanced sweetness of Embassy Zen 33% White Chocolate with a trio of...

Colour is not just an accent, it's a powerful medium that can transform a simple dessert into a captivating work of art.
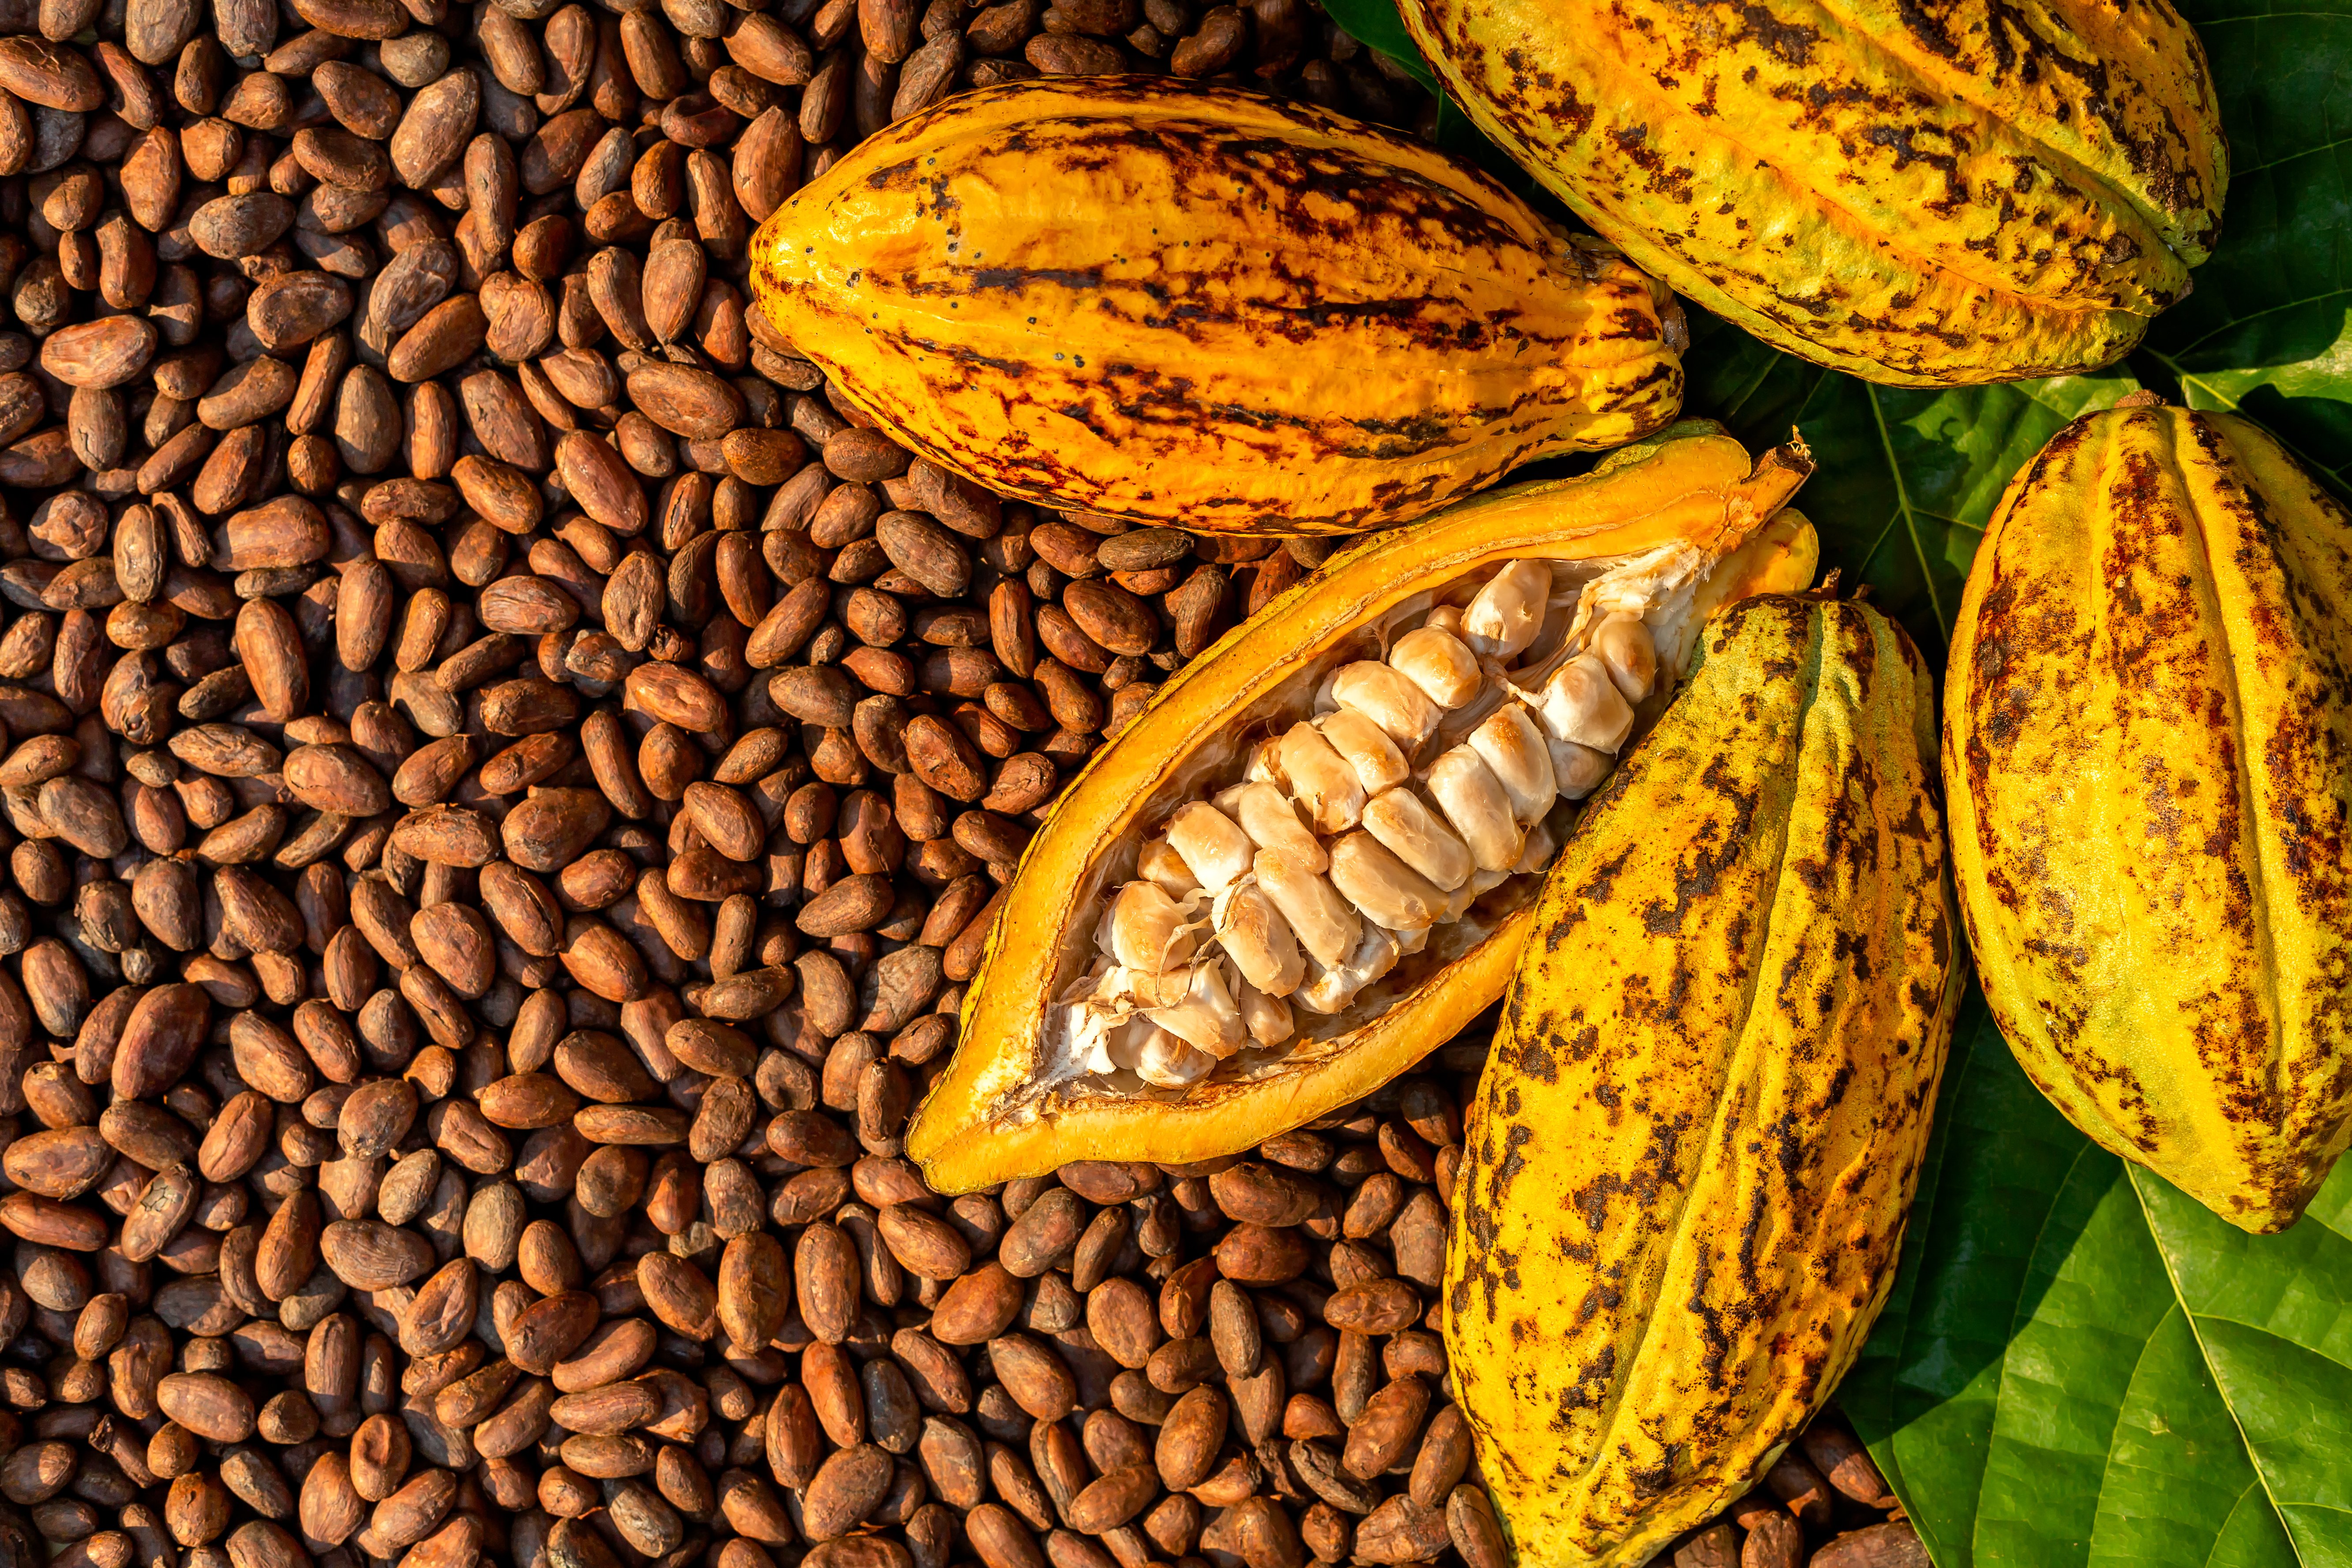
Chocolate, a beloved treat enjoyed by millions worldwide, is facing a bitter truth: the steady rise in cocoa bean prices due to disease outbreaks and...