

Embassy Chocolate's Easter Special: Bonbon Recipe Collections
This Easter, we are redefining the seasonal palate by pairing the velvety, well-balanced sweetness of Embassy Zen 33% White Chocolate with a trio of...
3 min read
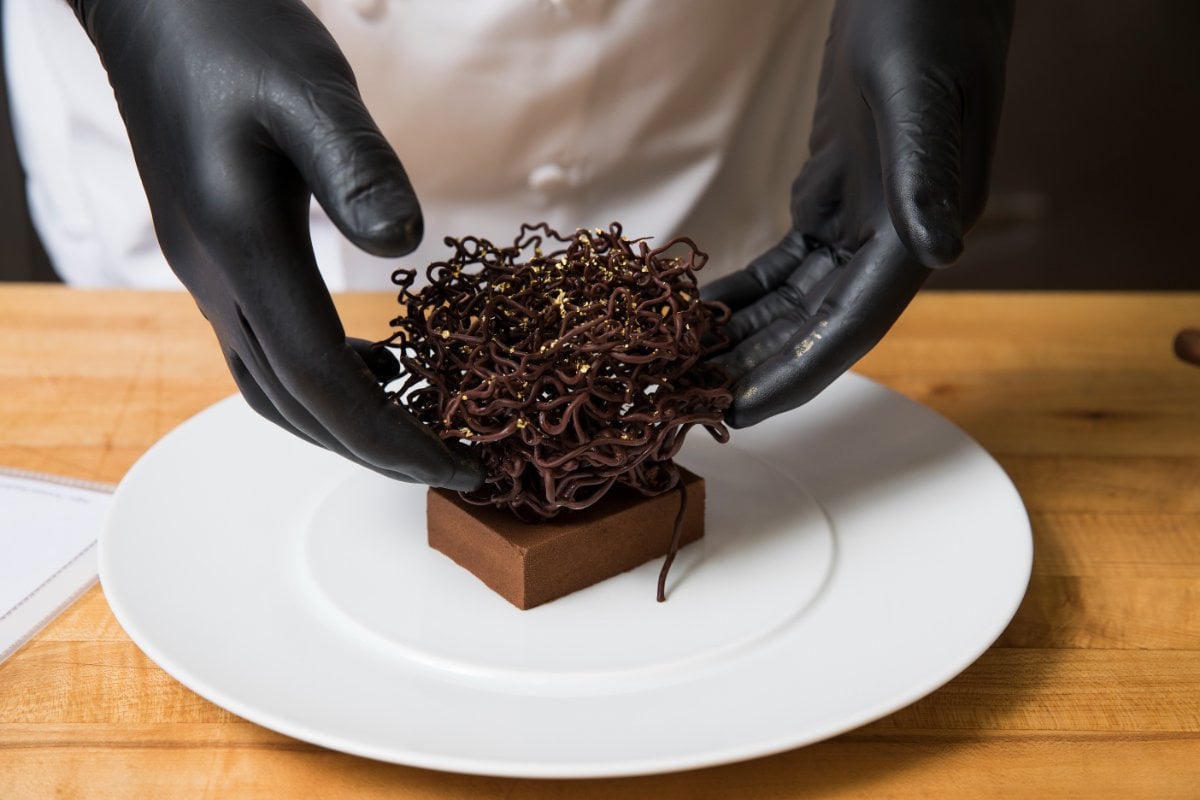
Adding chocolate piping decorations is a wonderful way to decorate your creations. Be it a classic pattern, a character shape, or a few letters, they all can be created by mastering your chocolate piping skills.
If you want to know how to make beautiful piping chocolate decorations for your creations, this article is for you.
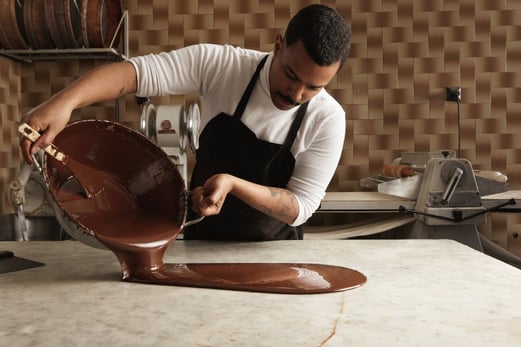
Before making any piping preparations, you first need to temper your chocolate properly. Tempering is very important if you want to make chocolate decorations that have a glossy sheen, a firm, smooth texture, and are more temperature-stable.
To know more about how to temper your chocolate properly, read this article.
Next, decide on the design that you want to make. If you want to create uniform patterns or intricate lettering, create a template to simplify the process.
To create your template, draw your desired pattern or print it on a piece of paper. Put the template on a baking tray, then layer a piece of parchment paper on top of your drawn/printed pattern. Make sure that the pattern is visible through the parchment paper.
If you want to create your pattern freehand, then you can skip the printing step and just put parchment paper on top of your baking tray.
We’re almost done with the preparations. Lastly, pour your tempered chocolate into a piping bag or cornet (a parchment paper cone). Make sure that your chocolate is at its working temperature (31-32°C for dark chocolate, 30-31°C for milk chocolate, and 29-30°C for white chocolate). Cut the tip off your piping bag to create a small hole.
Now is the exciting part. Gently squeeze your piping bag and pipe your chocolate onto the parchment paper you have prepared, tracing the template, or freehand it as you like.
If you are a beginner, then it is best to practice first. Hold your piping bag with one hand and use the other as a guide, creating slow and controlled movements with your whole arm. Remember to squeeze the piping bag with even pressure.
Let the chocolate solidify at room temperature. When they are fully hardened, you will be able to peel them off using a spatula or a palette knife without the chocolate bending.
Read more: 5 Signs of High-Quality Milk Chocolate
Here are some additional tips on piping chocolate decorations:
Read more: What Chocolate Mousseline Cream Is and How to Make It

Source: Life Love and Sugar
With Valentine’s Day approaching, why not add piping chocolate decoration to your themed cupcakes? This simple but effective red heart chocolate decoration can be a good idea to present to your loved ones.
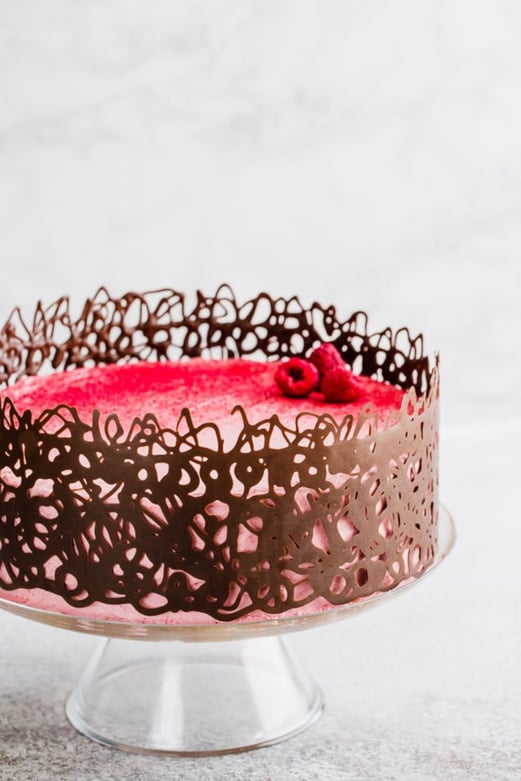
Source: Sweet and Savory by Shinee
Chocolate piping decorations do not always have to be put on top of cakes or cupcakes, they can also be on the sides of your creations. To make this chocolate cage decoration, pipe your chocolate on top of a long rectangular parchment paper, making sure it is thick enough to stand (if too thin, it will be too fragile). When it is half set, carefully wrap the parchment paper around your frosted cake, then gently peel off the parchment paper.
Source: Sweets Note via Pinterest
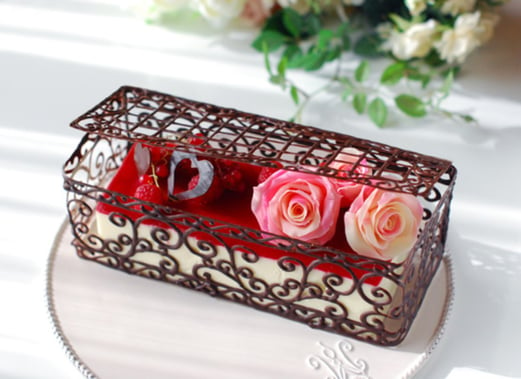
How beautiful is this intricate chocolate box? This one is a bit more complicated to make, but it’s not at all impossible. Pipe your chocolate patterns on a long rectangular parchment paper and wait until it is half set. Then, model it so that it stands up on its side and let it set. Create another pattern for the cover, then when it is set, glue the box and the cover with melted chocolate and cold spray.
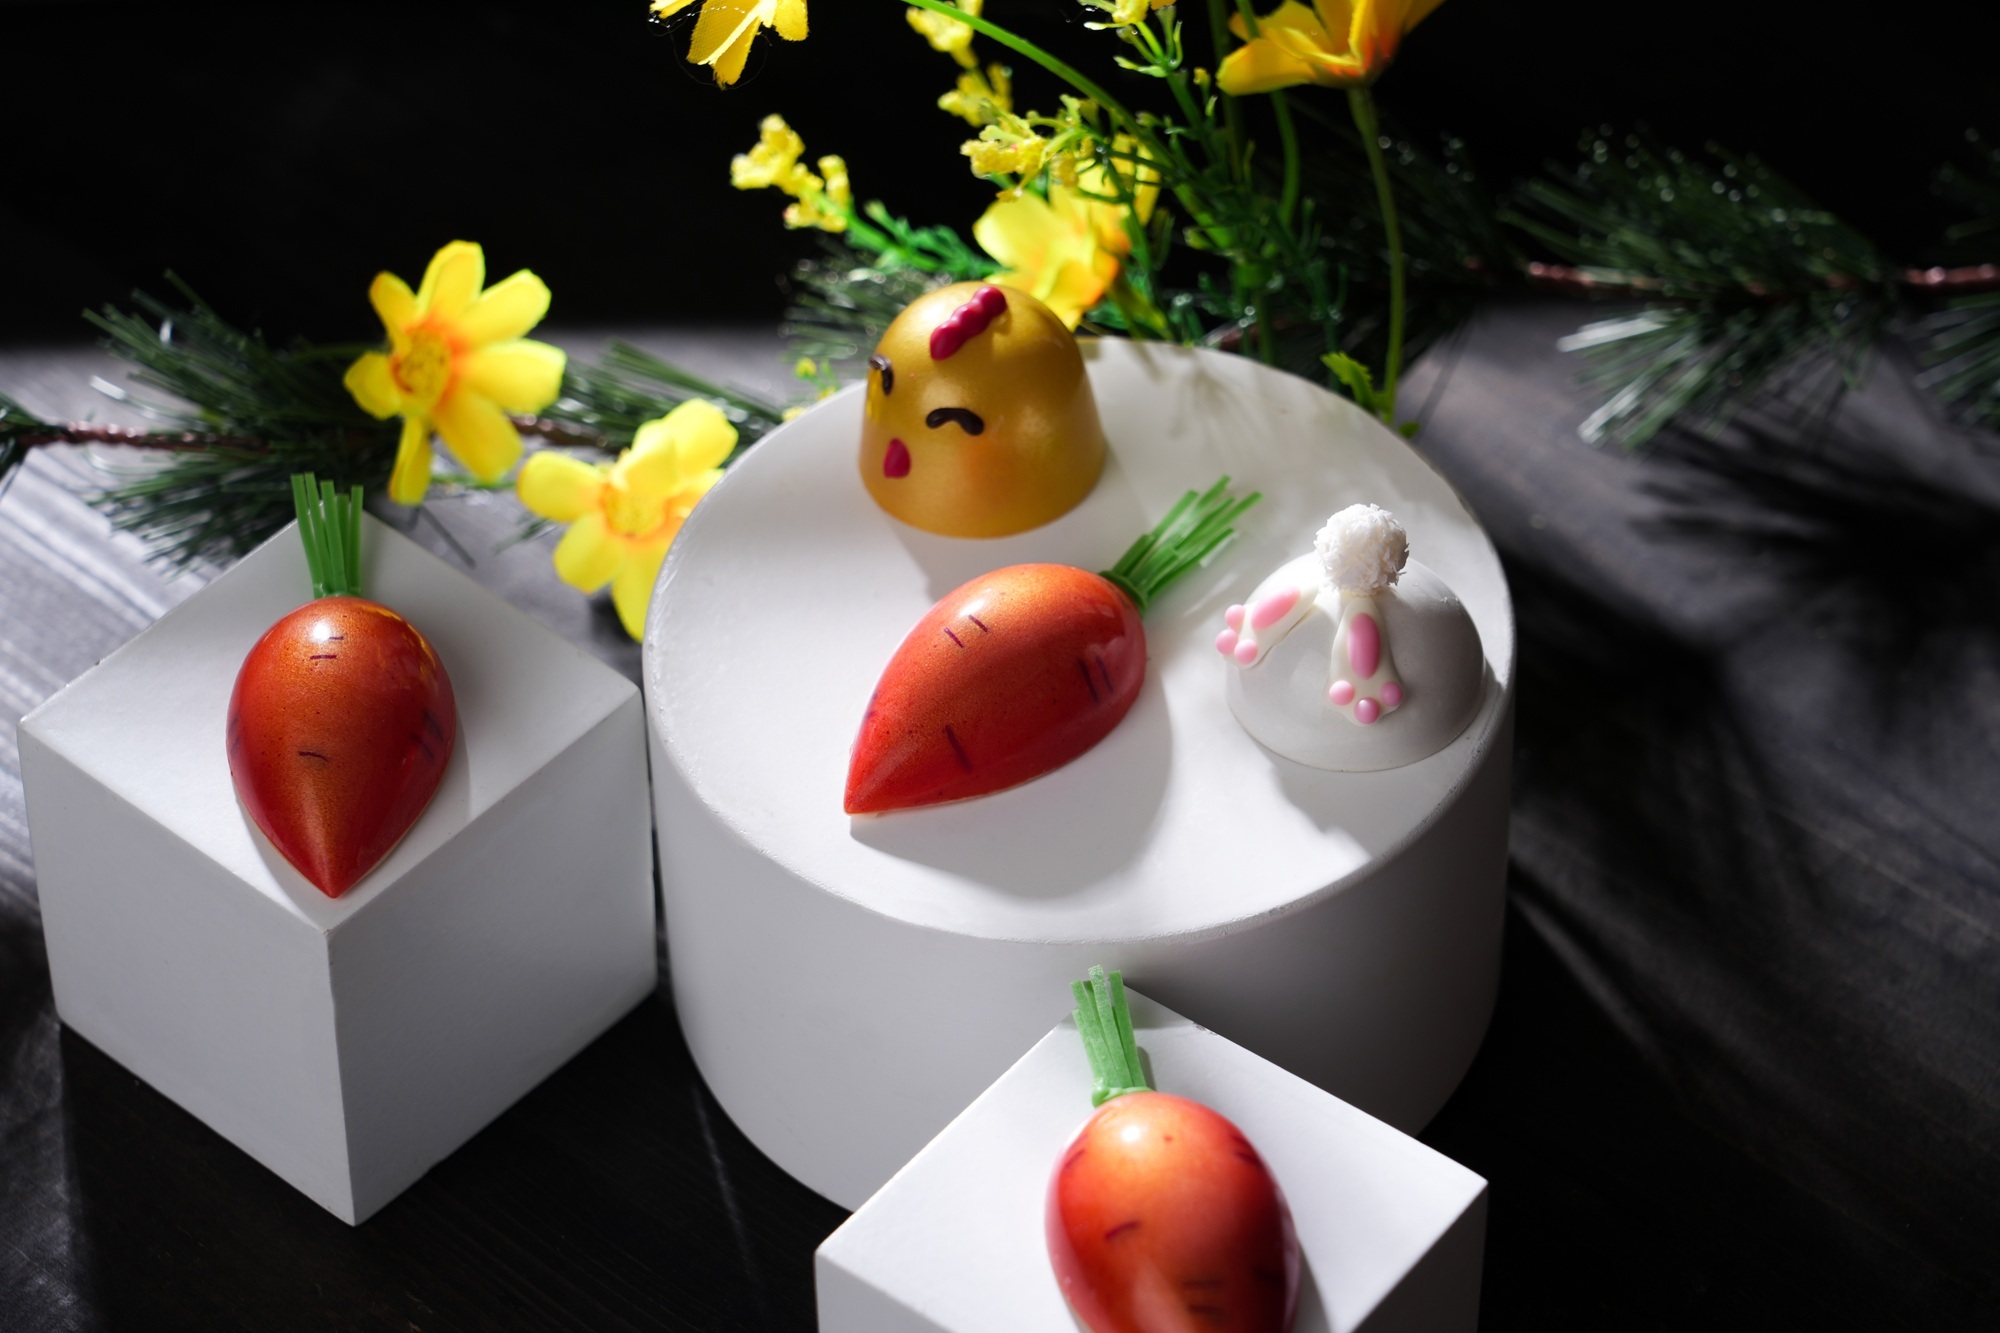
This Easter, we are redefining the seasonal palate by pairing the velvety, well-balanced sweetness of Embassy Zen 33% White Chocolate with a trio of...

Colour is not just an accent, it's a powerful medium that can transform a simple dessert into a captivating work of art.
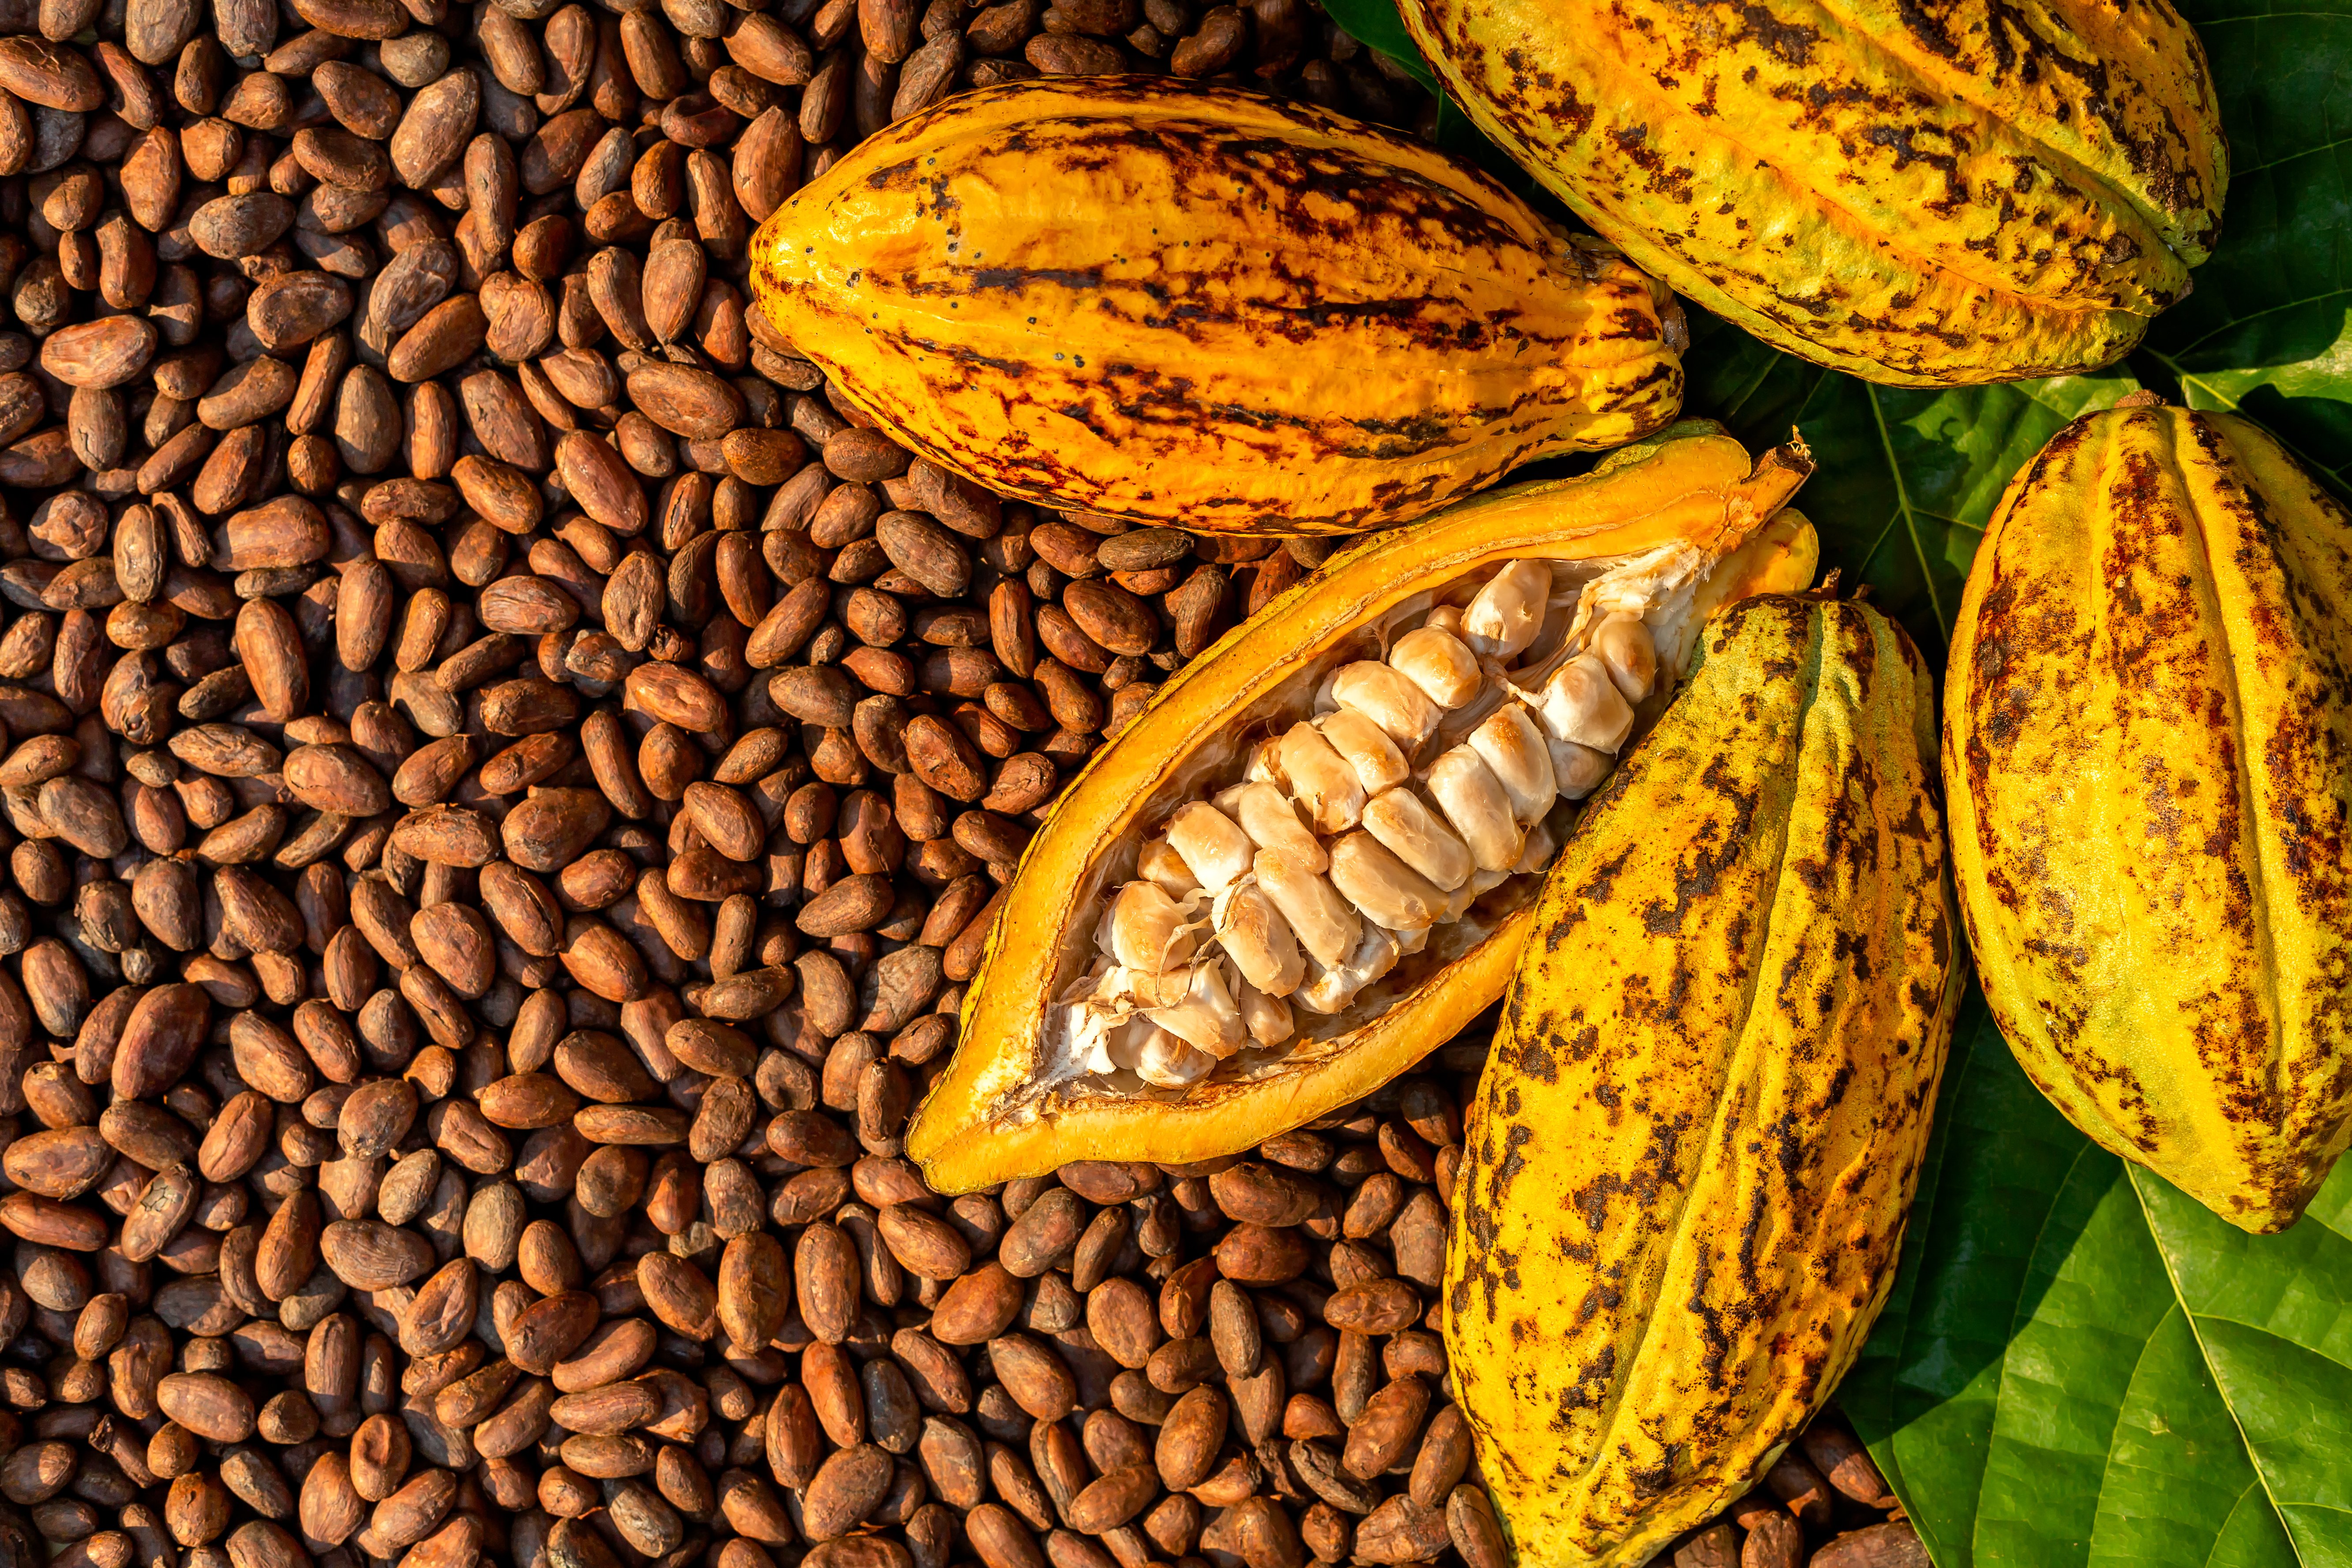
Chocolate, a beloved treat enjoyed by millions worldwide, is facing a bitter truth: the steady rise in cocoa bean prices due to disease outbreaks and...