Arte Cocoa Butter Colouring: The Professional's Secret to Excellent Colour Mastery
Colour is not just an accent, it's a powerful medium that can transform a simple dessert into a captivating work of art.
3 min read
Mar 6, 2023 2:05:11 PM
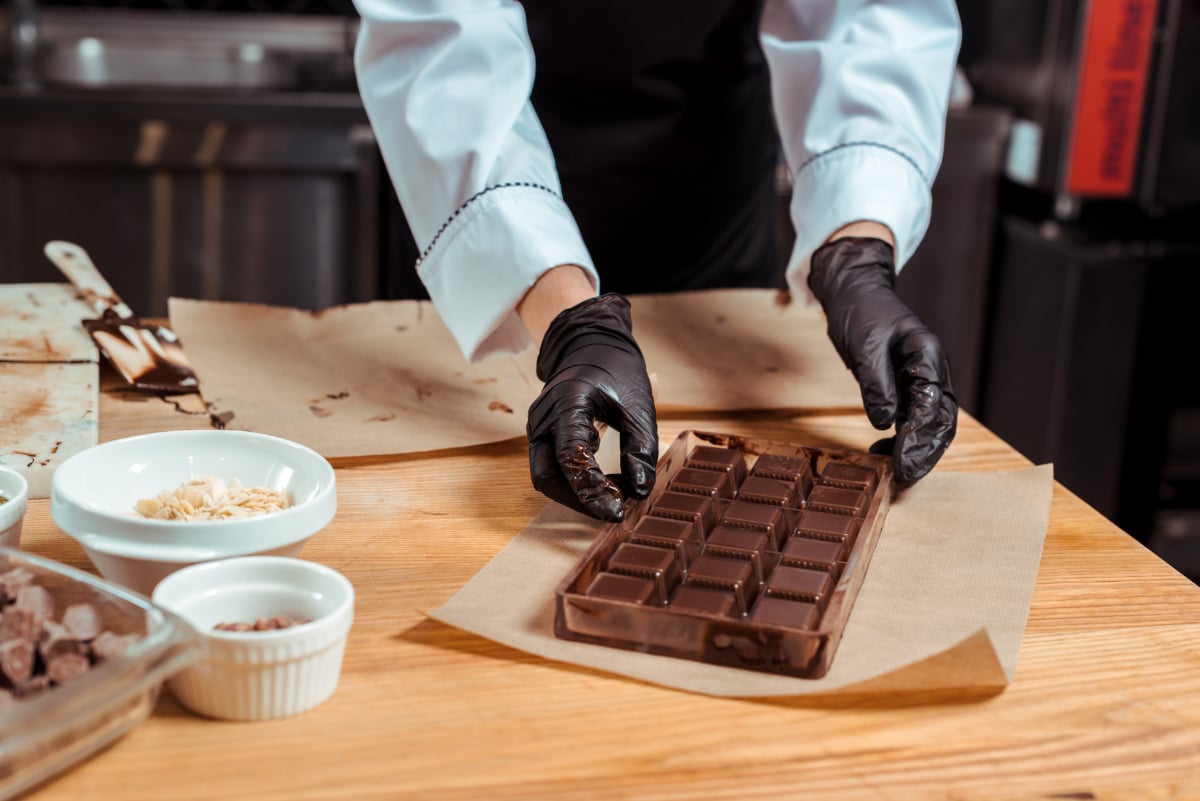
Moulding chocolate using real or couverture chocolate can sometimes be challenging. Particularly when you have finished making the product, but then it is stuck in the mould!
Whether you are making chocolate bars, pralines or hollow figures, trying to get chocolate out of the mould can end up with your chocolate breaking into pieces. This is of course very frustrating. However, don't panic! Check out this article to find out why your chocolate is stuck, how to get it out, and how to prevent it from ever happening again.
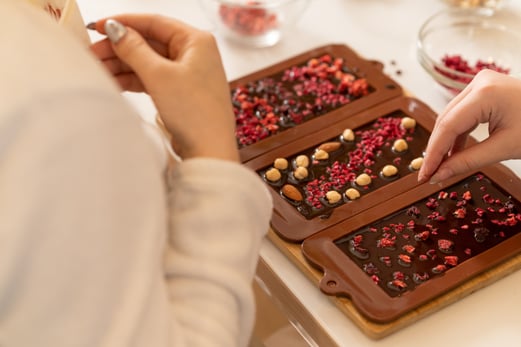
There are many reasons why this could happen. Here are some reasons why your chocolate is stuck in the mould.
Not all moulds can be used for moulding chocolate. Moulds intended for baking, for example, generally make the chocolate stick to the mould even more.
One of the most common causes of having your chocolate stuck to the mould is that the mould is not clean enough. Usually, this is because there are drops of water left on the mould.
When you mould chocolate using a wet mould, the water will be trapped under the chocolate and cannot dry out. As a result, the chocolate will stick to the mould. This can also cause fat bloom, where white streaks or blotches appear on the surface of the chocolate.
Moulds that are too warm can cause the chocolate to melt in the moulds, making it difficult to remove. This can be due to poorly prepared moulds, or the heat from your hands when working with chocolate moulds.
It takes time and a certain technique for chocolate to harden perfectly. If the chocolate hasn't set completely, then you will have a hard time getting it out of the mould. Furthermore, the wrong way to harden chocolate can also cause blooming.
Tempering is an important process in working with chocolate. Apart from making the surface of the chocolate appear shiny and the texture hard and firm, a proper tempering process will make the chocolate contract or shrink slightly as it hardens.
This is very beneficial in the moulding process because, with shrinkage, the chocolate becomes easy to remove from the mould. If your chocolate sticks to the mould, you may not have tempered it properly.
Read more: How to Fix Seized Chocolate
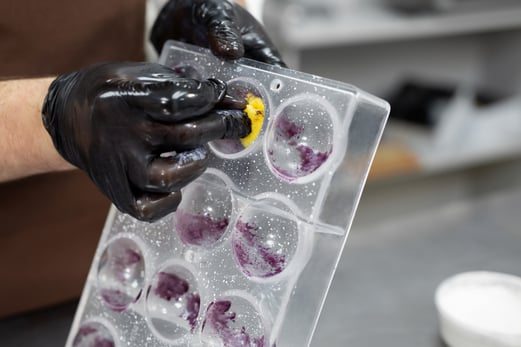
Our chocolatiers at Embassy Chocolate advise you to use polycarbonate moulds. Why? Because this type of product is hardy, long-lasting, and helps produce shinier chocolate. Additionally, the mould contracts more slowly than chocolate, so demoulding the chocolate will be less of a hassle.
Another alternative is to use silicone moulds. However, this material is very stretchy. So, you need to be extra careful when working with chocolate, especially if you need to move the filled moulds. Additionally, chocolate moulded using silicon moulds will not be as shiny as ones moulded with polycarbonate moulds.
Before using the mould, it's a good idea to clean the mould the day before. Use hot water (no soap needed) then let it dry. The next day, heat both sides of the mould using a heat gun to make sure the mould is completely dry. Finally, wipe every mould cavity with dry cotton balls.
Read more: What's the Difference Between Compound and Couverture Chocolate?
Before filling the moulds with chocolate, make sure the moulds are cool enough to use. If your mould is warm, place it in the freezer first for a few minutes.
Also, when working with chocolate moulds, make sure you minimize touching the moulds so that the heat from your hands does not warm the moulds.
After the chocolate moulding process is done, do not store the chocolate in the refrigerator immediately. Let it sit at room temperature (18-20 degrees Celsius) first for a few minutes. Then, once the chocolate is dry and doesn't stain to the touch, place the mould in the refrigerator (8-12 degrees Celsius) for 15-30 minutes until the chocolate has completely hardened.
Tempering is essential. Making sure to temper your chocolate properly ensures that your chocolate can be easily removed from the mould, has a shiny and smooth surface, and has a hard texture but smoothly melts in the mouth.
Read more: What Chocolate Melts the Fastest?
If your chocolate is already stuck in the mould, do not panic. There are several things you can do to get the chocolate out of the mould. Check out the following tips.
As previously mentioned, chocolate stuck to the mould could be because the chocolate hasn't hardened completely. If your chocolate is stuck, try letting it sit in the fridge a little longer.
If you're using a polycarbonate mould, pay attention to the bottom of the mould: if you can see that the chocolate is lifted from the mould, it's a sign that it has completely hardened. Take the chocolate out from the refrigerator, then place a flat plate or baking tray on top of the mould. Turn the mould over in one swift motion, then tap the mould firmly but with control to demould the chocolate.
When you tap the mould the first time, it may so happen that not all of the chocolate comes right off. Try tapping the sides of the mould, then tap the mould again on a flat surface in one motion. Chances are, some chocolate will be released. Repeat the process several times until all of the chocolate is released from the mould.
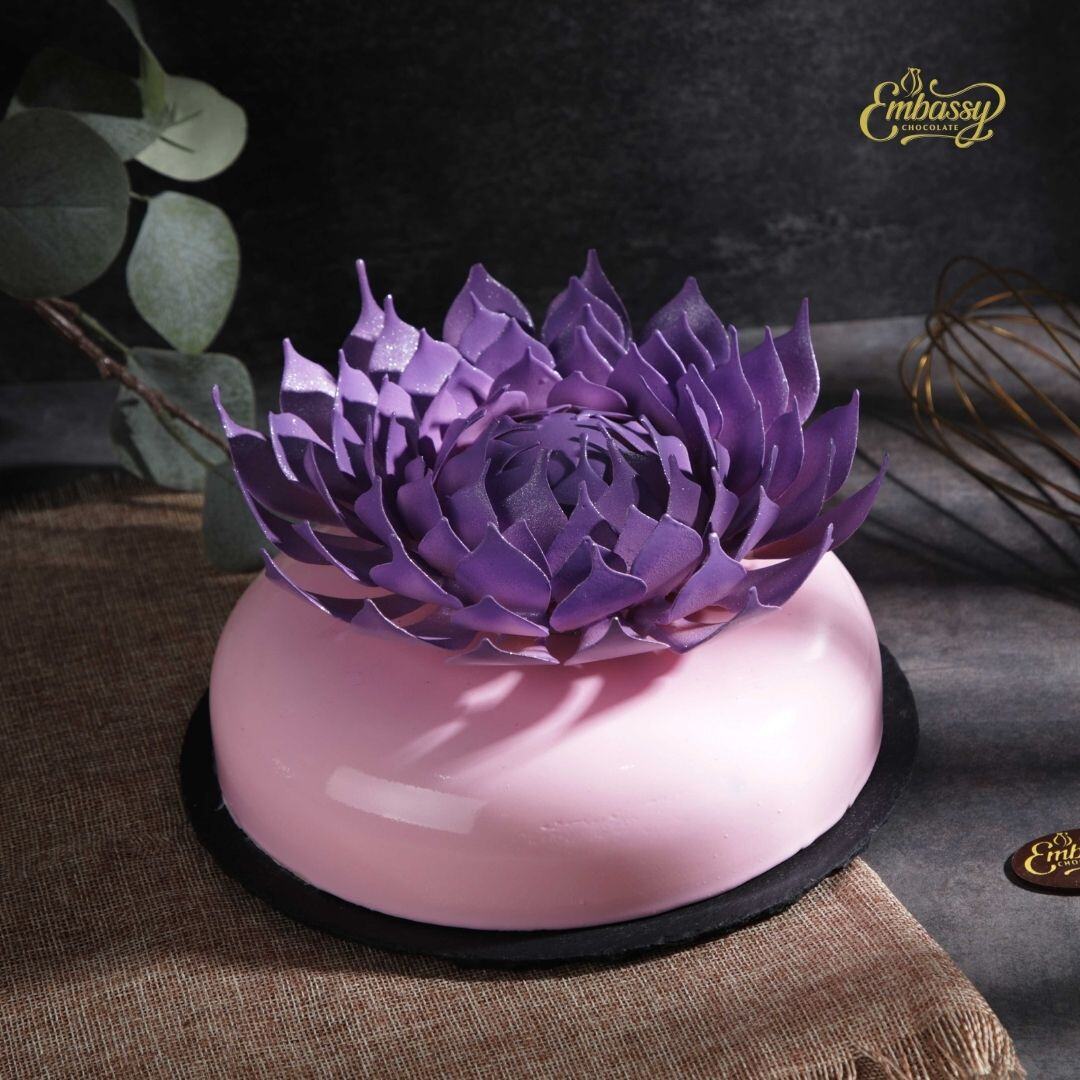
Colour is not just an accent, it's a powerful medium that can transform a simple dessert into a captivating work of art.

Chocolate, a beloved treat enjoyed by millions worldwide, is facing a bitter truth: the steady rise in cocoa bean prices due to disease outbreaks and...
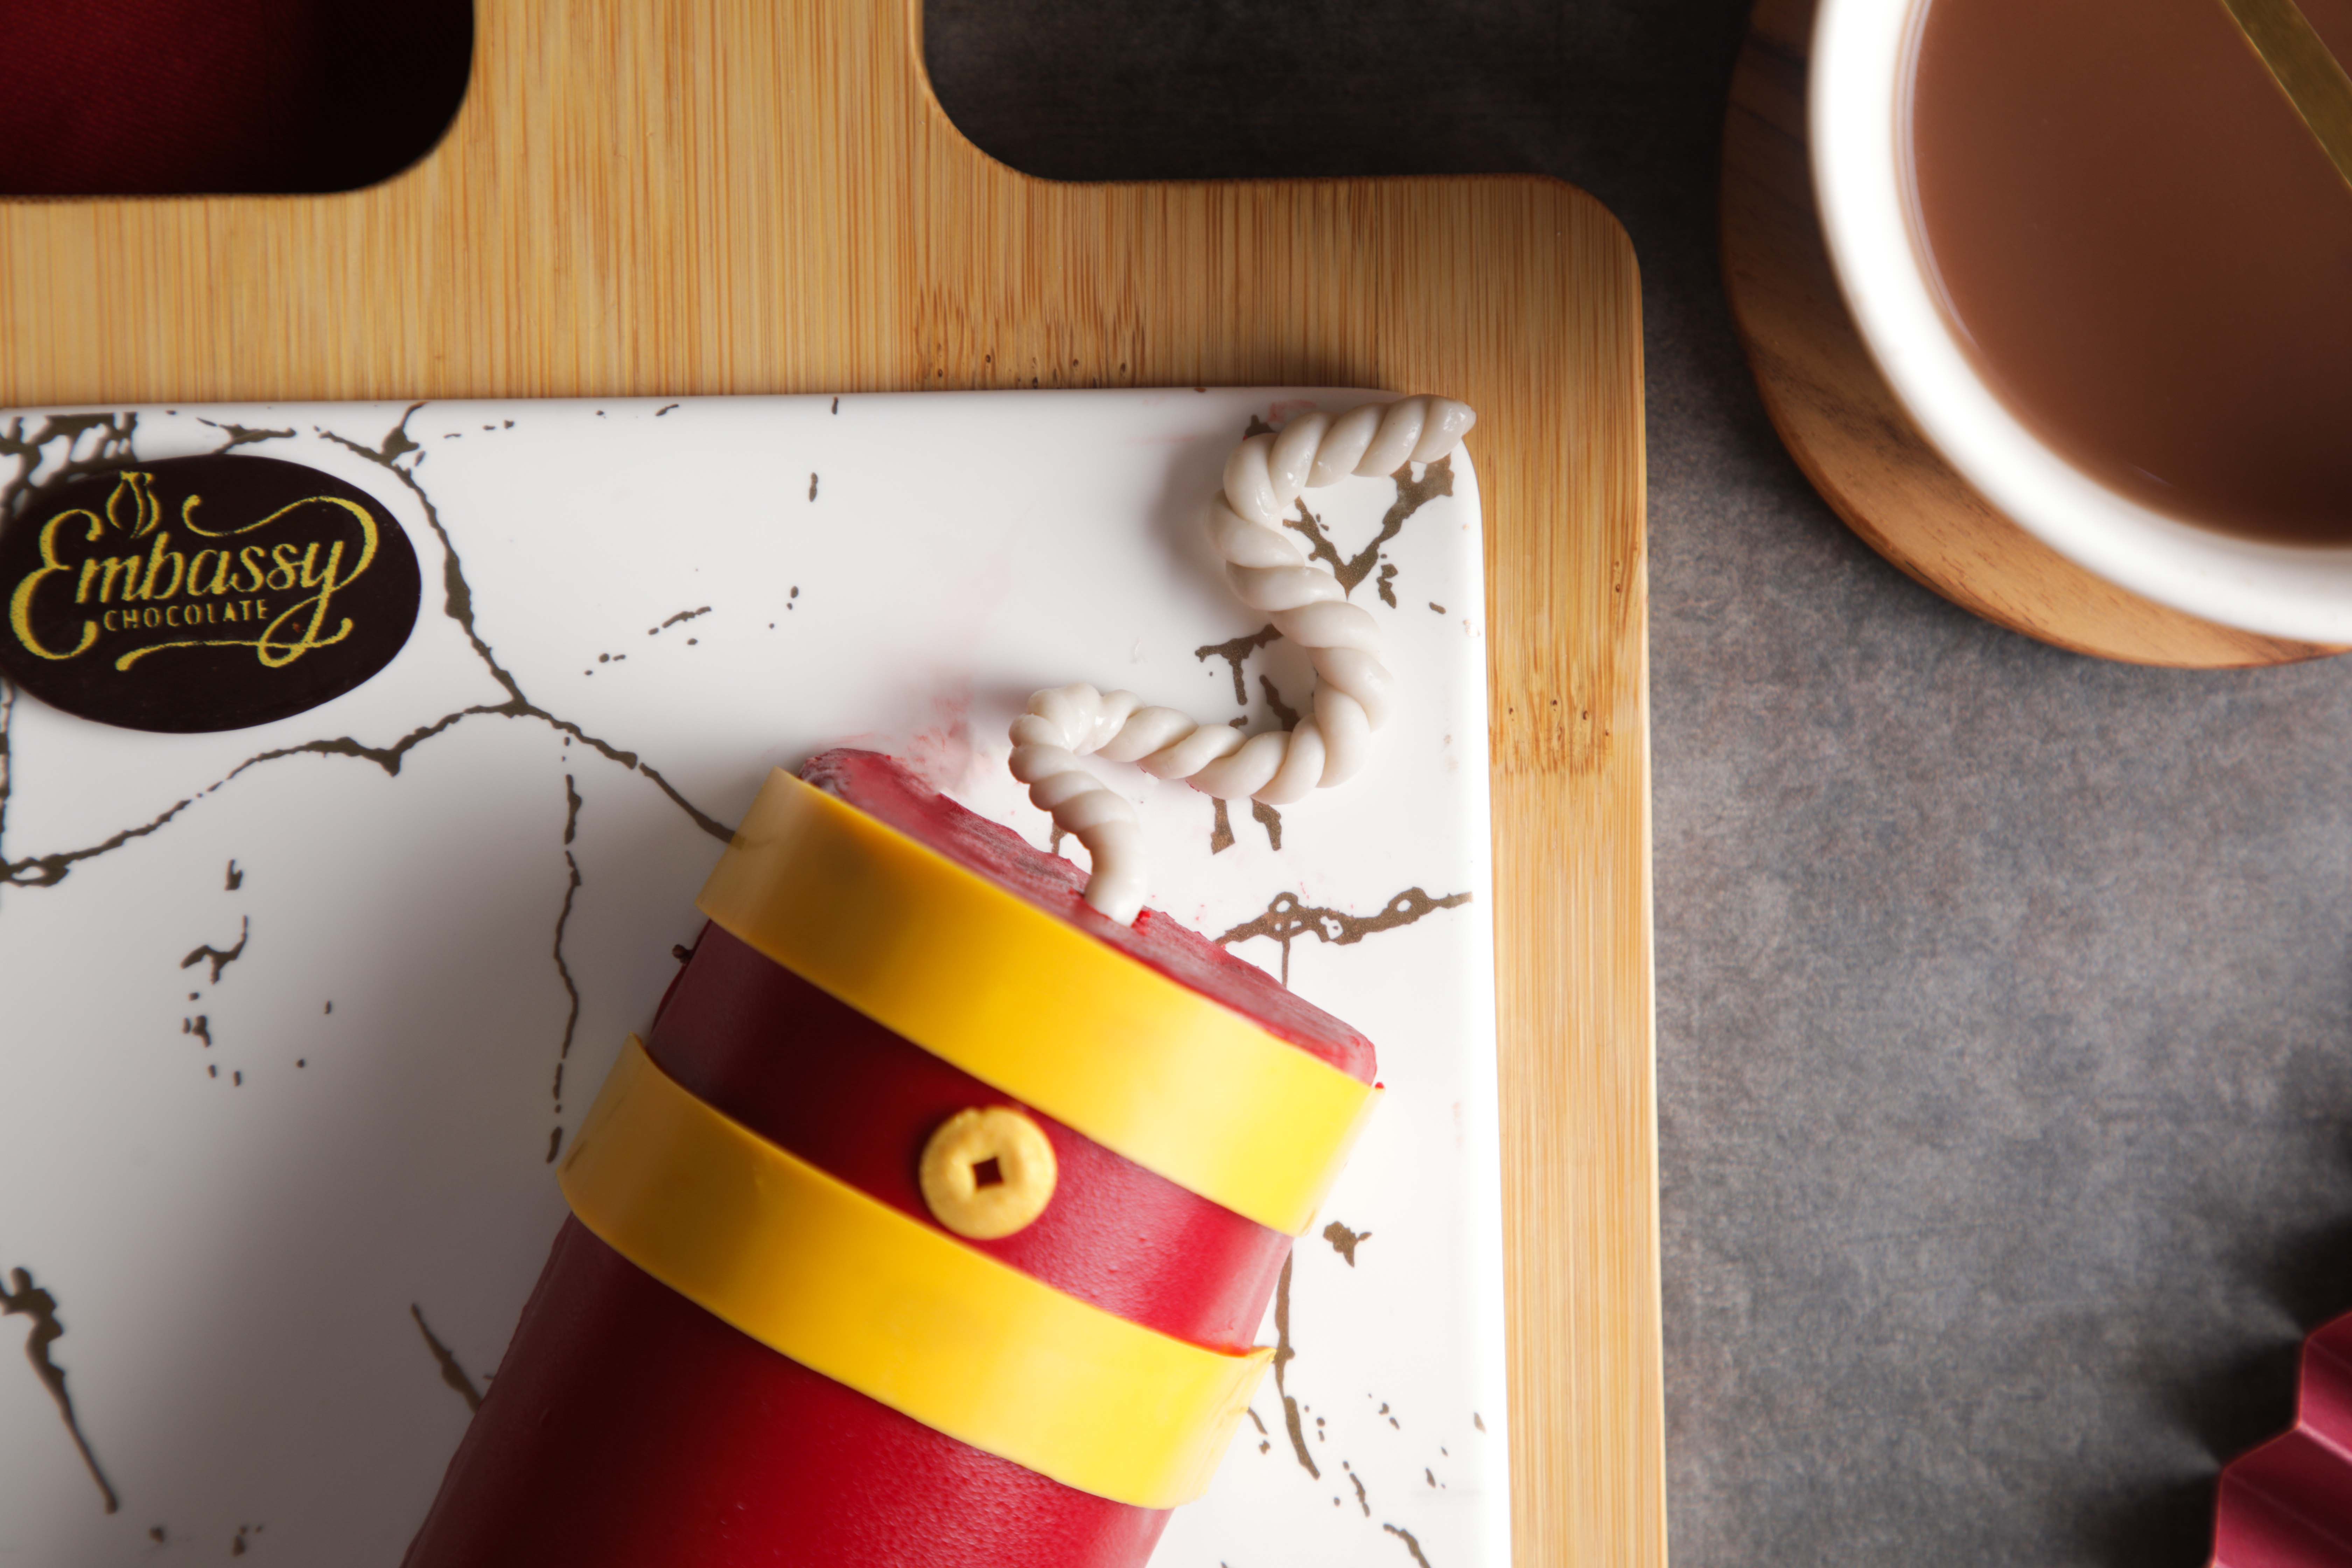
Set the Lunar New Year ablaze with our Firecracker Chocolate Roll Cake! Experience layers of rich chocolate with a hint of fiery excitement,...